

- Updated on
Long running AI Coding Agents with the Ralph Loop

There's a new AI coding technique that's been getting a lot of attention. People managed to push the limits of AI coding agents and get them running for days. But nobody shares how to set this up correctly.
Until now.
This method is commonly known as the Ralph Loop (loosely based on the Ralph Wiggum character from The Simpsons).
On paper, it's an incredibly simple concept: have an AI agent loop over and over the same prompt until it completes the task. But the reality in the field? This is just the tip of the iceberg.
If video is your jam, here's the full tutorial on YouTube:
I've spent weeks putting together a workflow that actually works, watched hundreds of hours of videos and read countless articles. So you don't have to.
What You'll Learn
With this guide, you'll learn how to run your own Ralph Loop and get all the prompts, skills and scripts you need to get going.
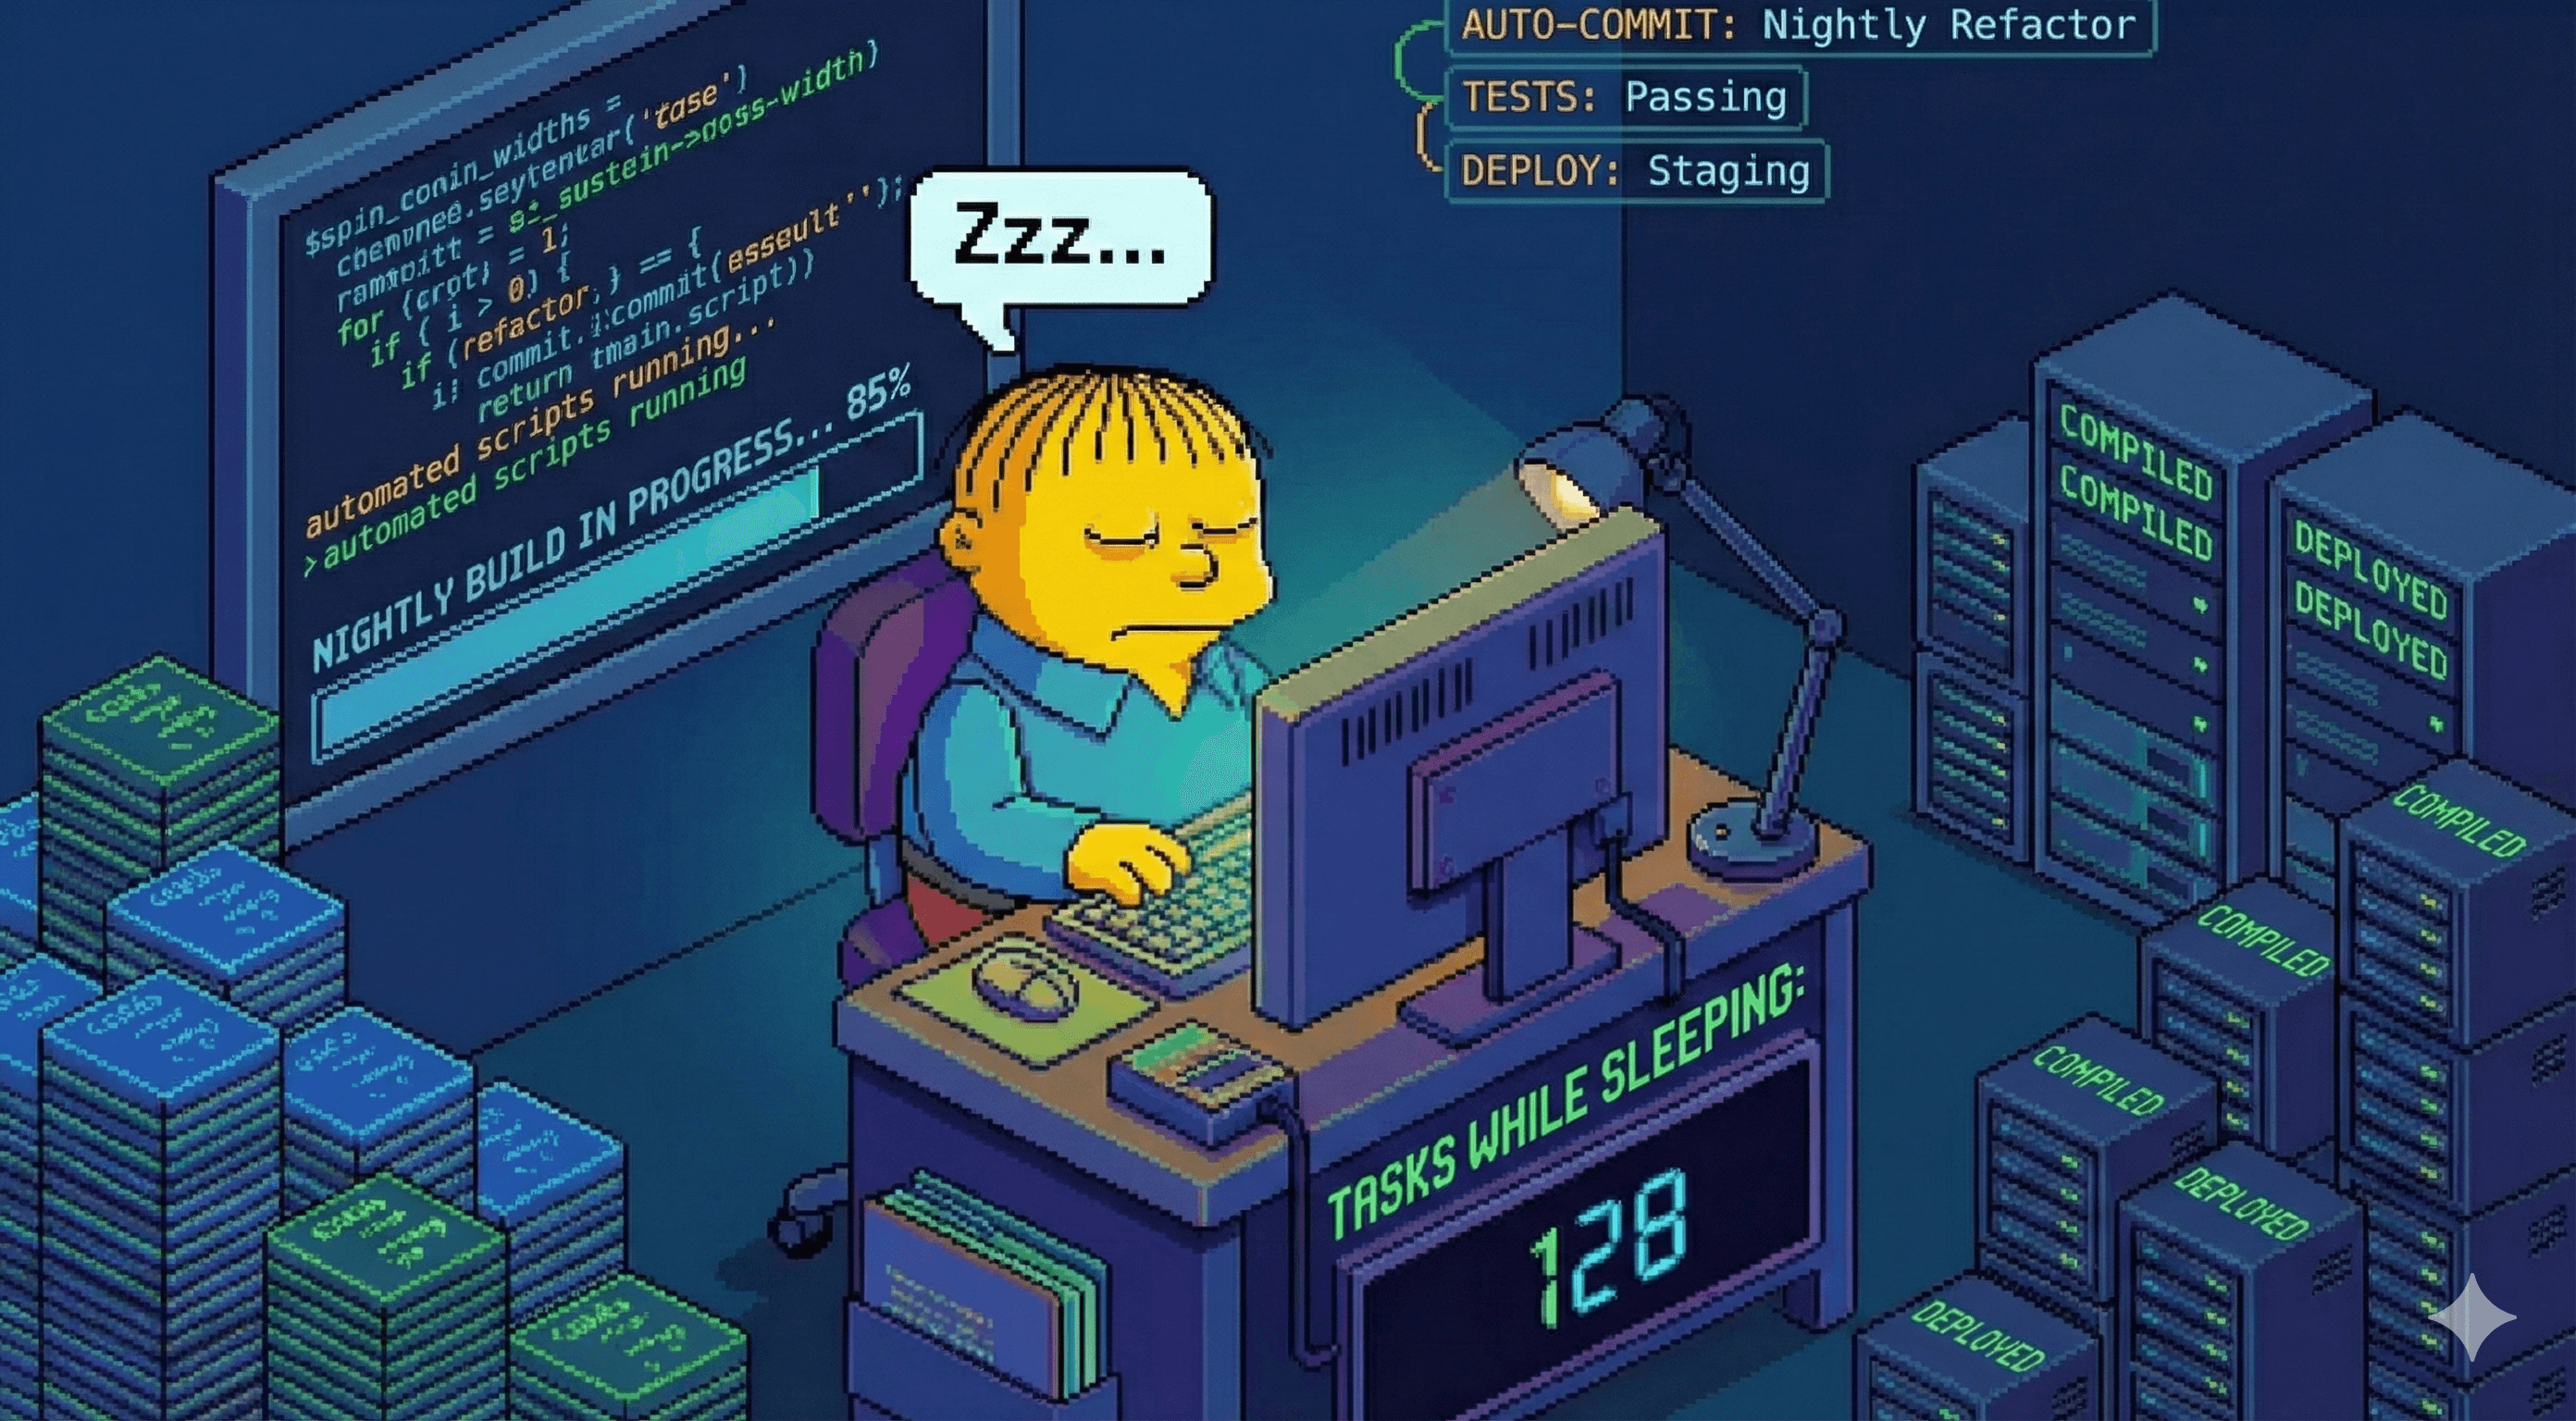
How do I know this works? I've used this AI workflow to ship not one, not two, but three separate projects. With this setup, I got AI to run for 37 hours straight, complete 250 tasks that were based on a 2000-line-long requirements document.
This guide walks you through my complete Ralph Loop workflow:
- What the Ralph Loop is and why it actually works
- How to get started with a single command
- How to write requirements that AI can execute on
- How to generate a PRD and break it down into tasks
- How to run the loop and let it code while you sleep
- The anatomy of the workflow: prompts, tasks, skills and agent instructions
Plus a full FAQ & Troubleshooting section at the end.
What Is the Ralph Loop?
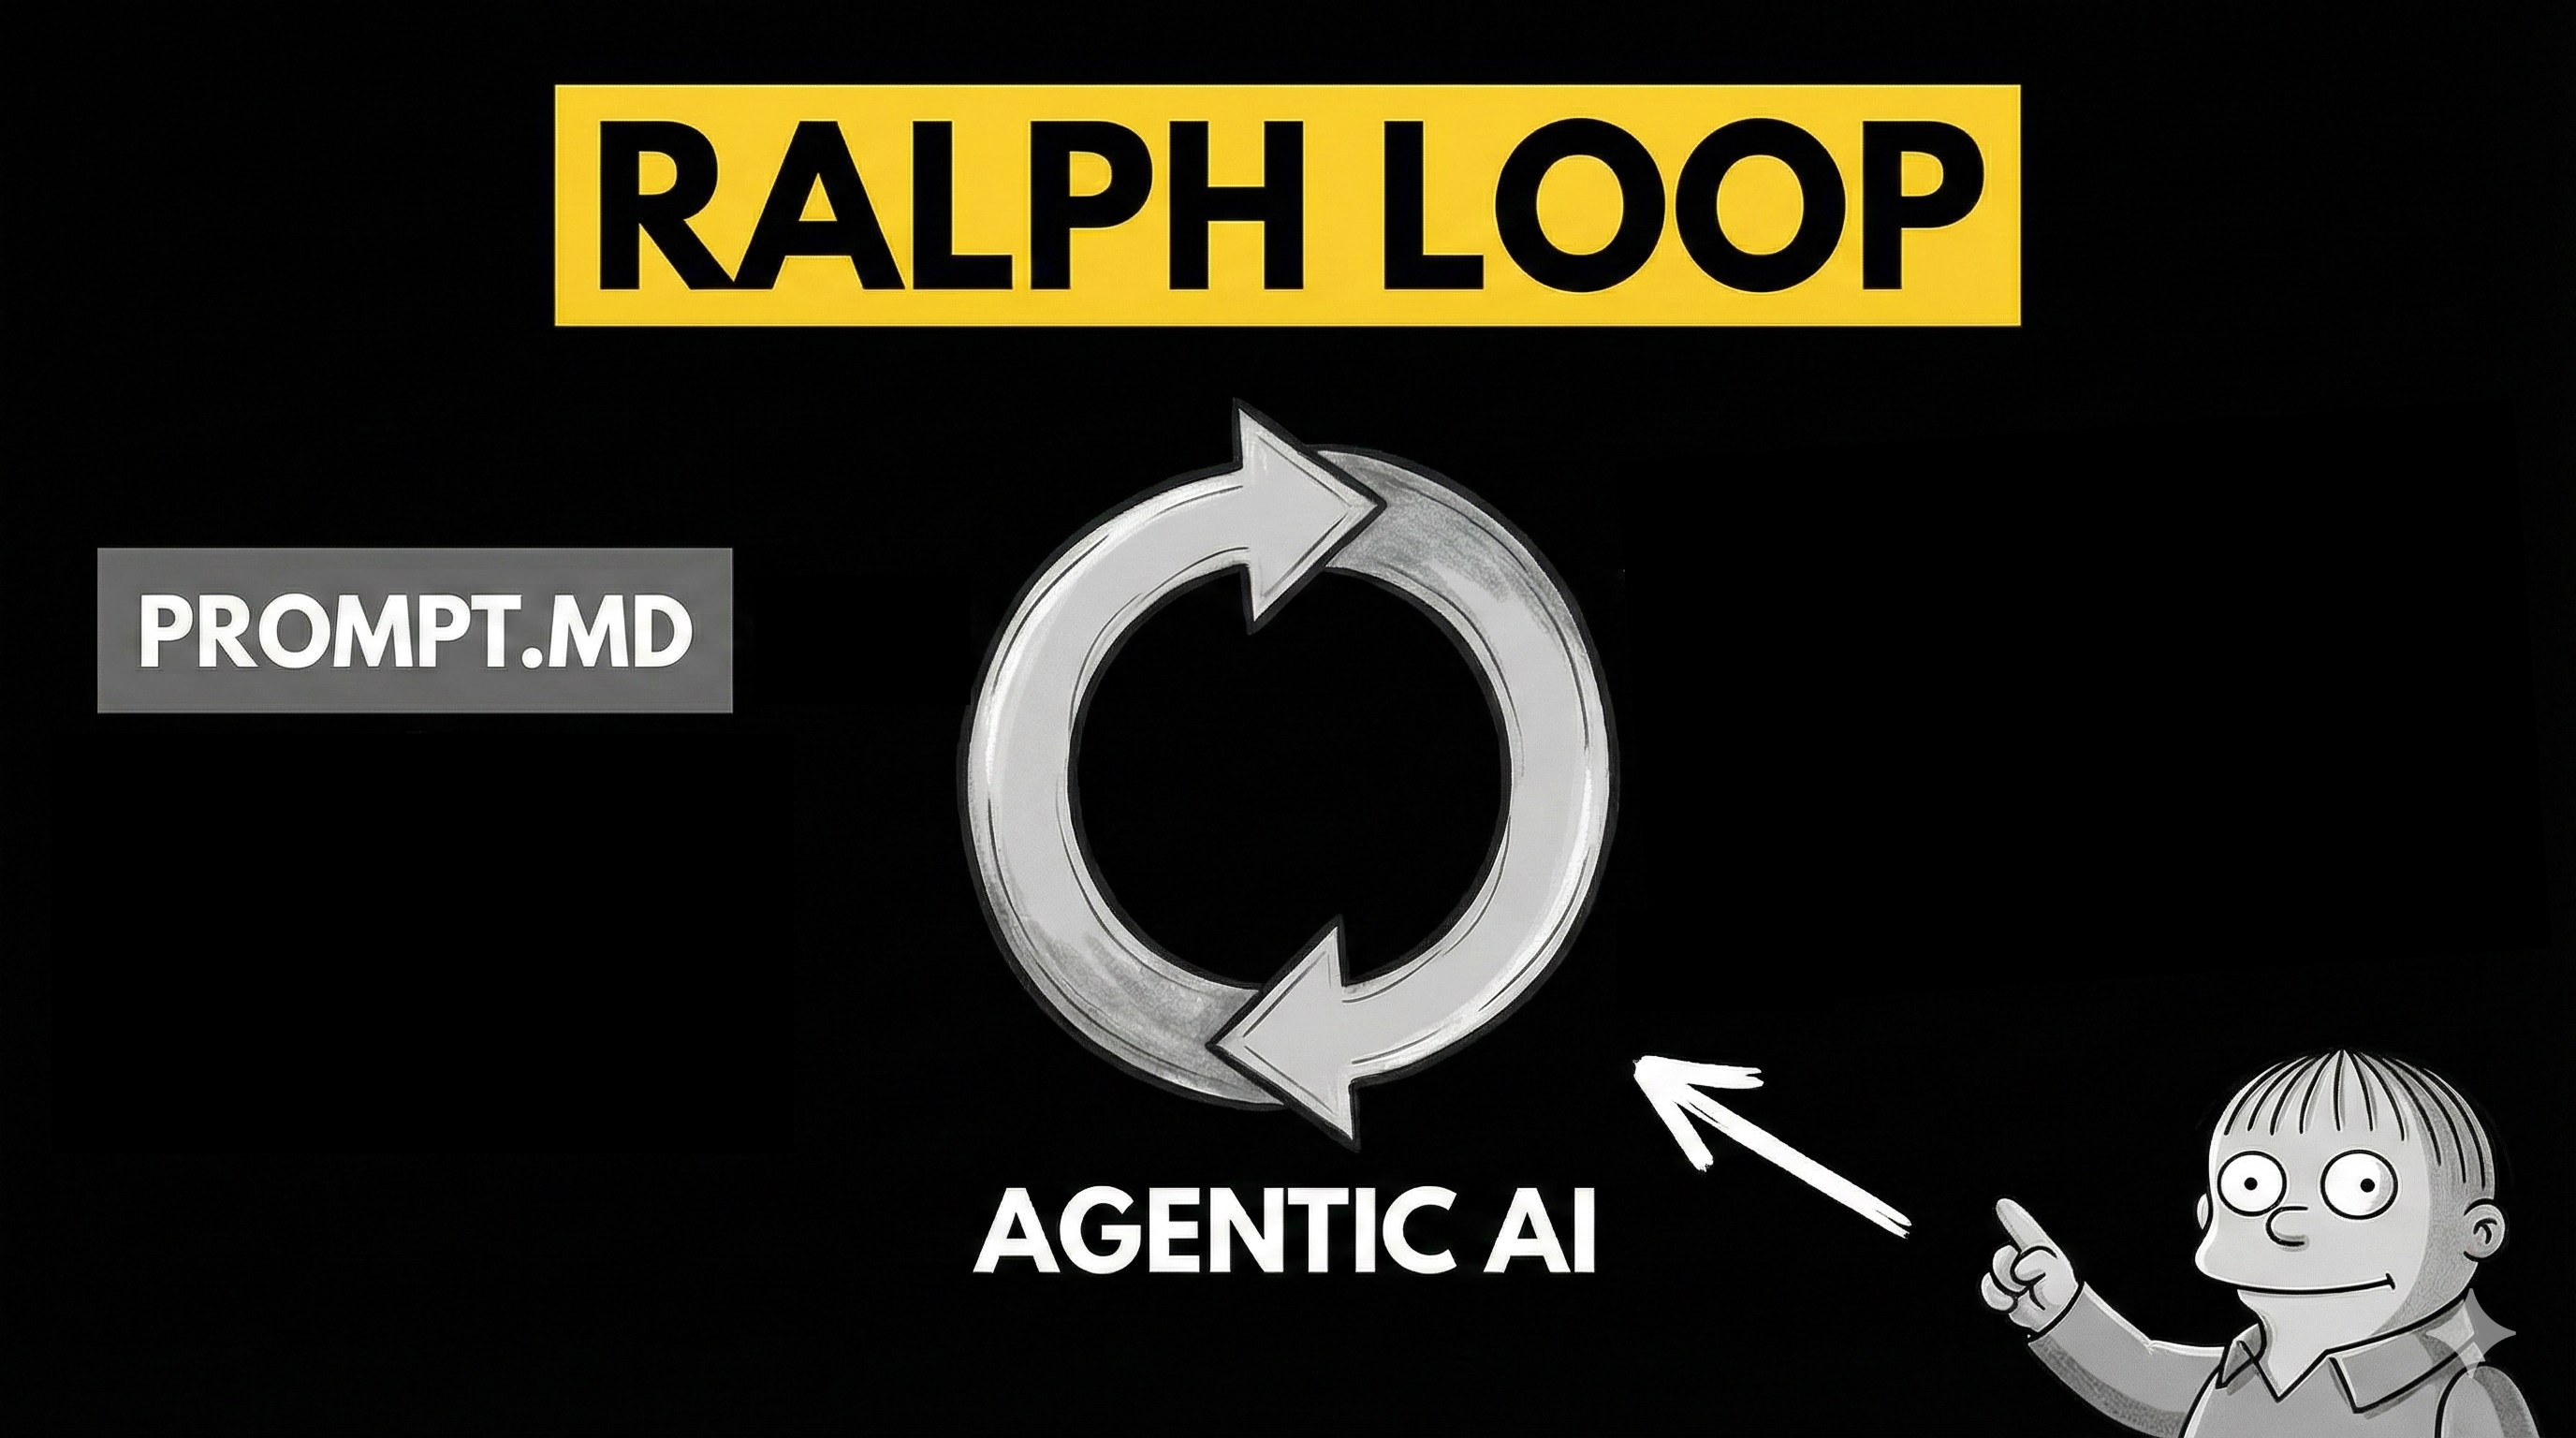
At its core, the Ralph Loop is a basic loop that runs the same prompt over and over again until it reaches a stopping criteria. This term was coined by Geoffrey Huntley.
Every iteration starts from a fresh context. The AI agent checks what work needs to be done (usually in the form of a task list) and then picks a task to work on.
For this to work, it is essential that you both have highly detailed requirements of the task as well as a validation criteria for the loop to be able to test its implementation for correctness.
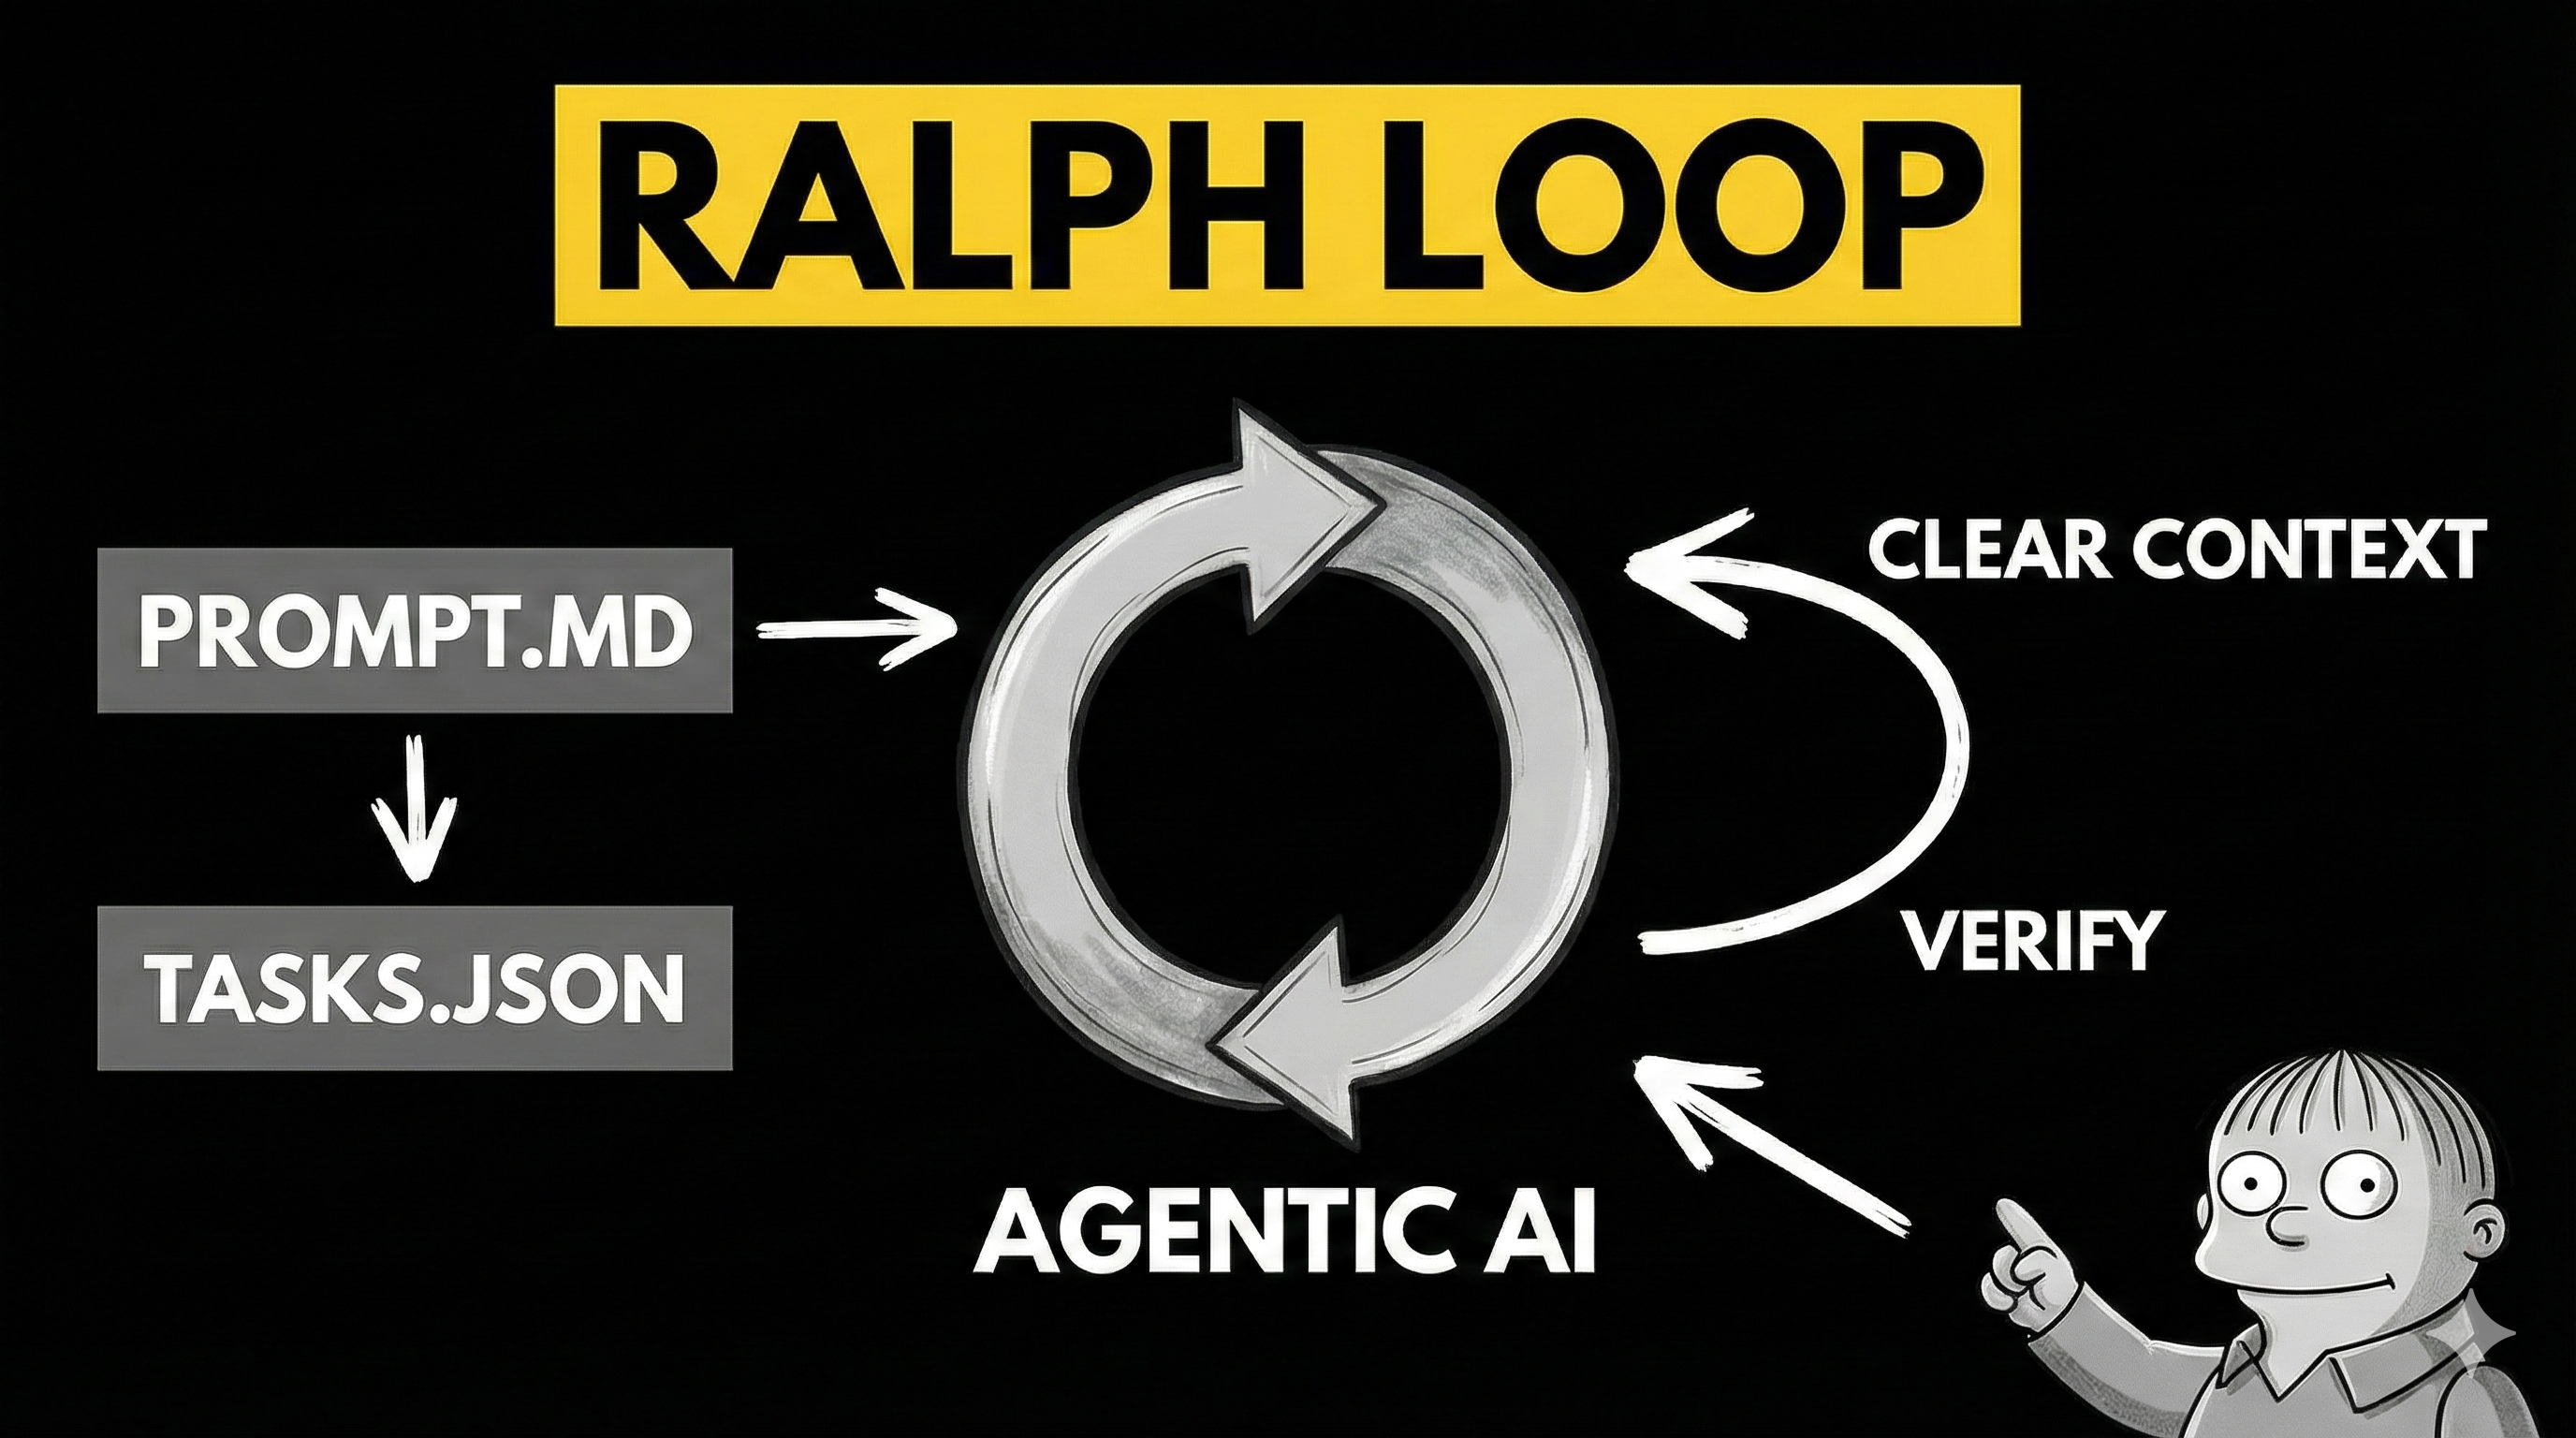
When the task is done, it verifies the implementation against the validation criteria and if that passes, marks the task as complete, clears context and starts the next iteration.
This continues until all tasks are completed.
💁♂️ This differs from previous workflows in one very critical way: each iteration starts with a fresh context and the state between iterations is kept in good old text files and git commits. Not only that, but the workflow assumes strict validation of each task to ensure the agent actually completes the work.
Why Does This Work?
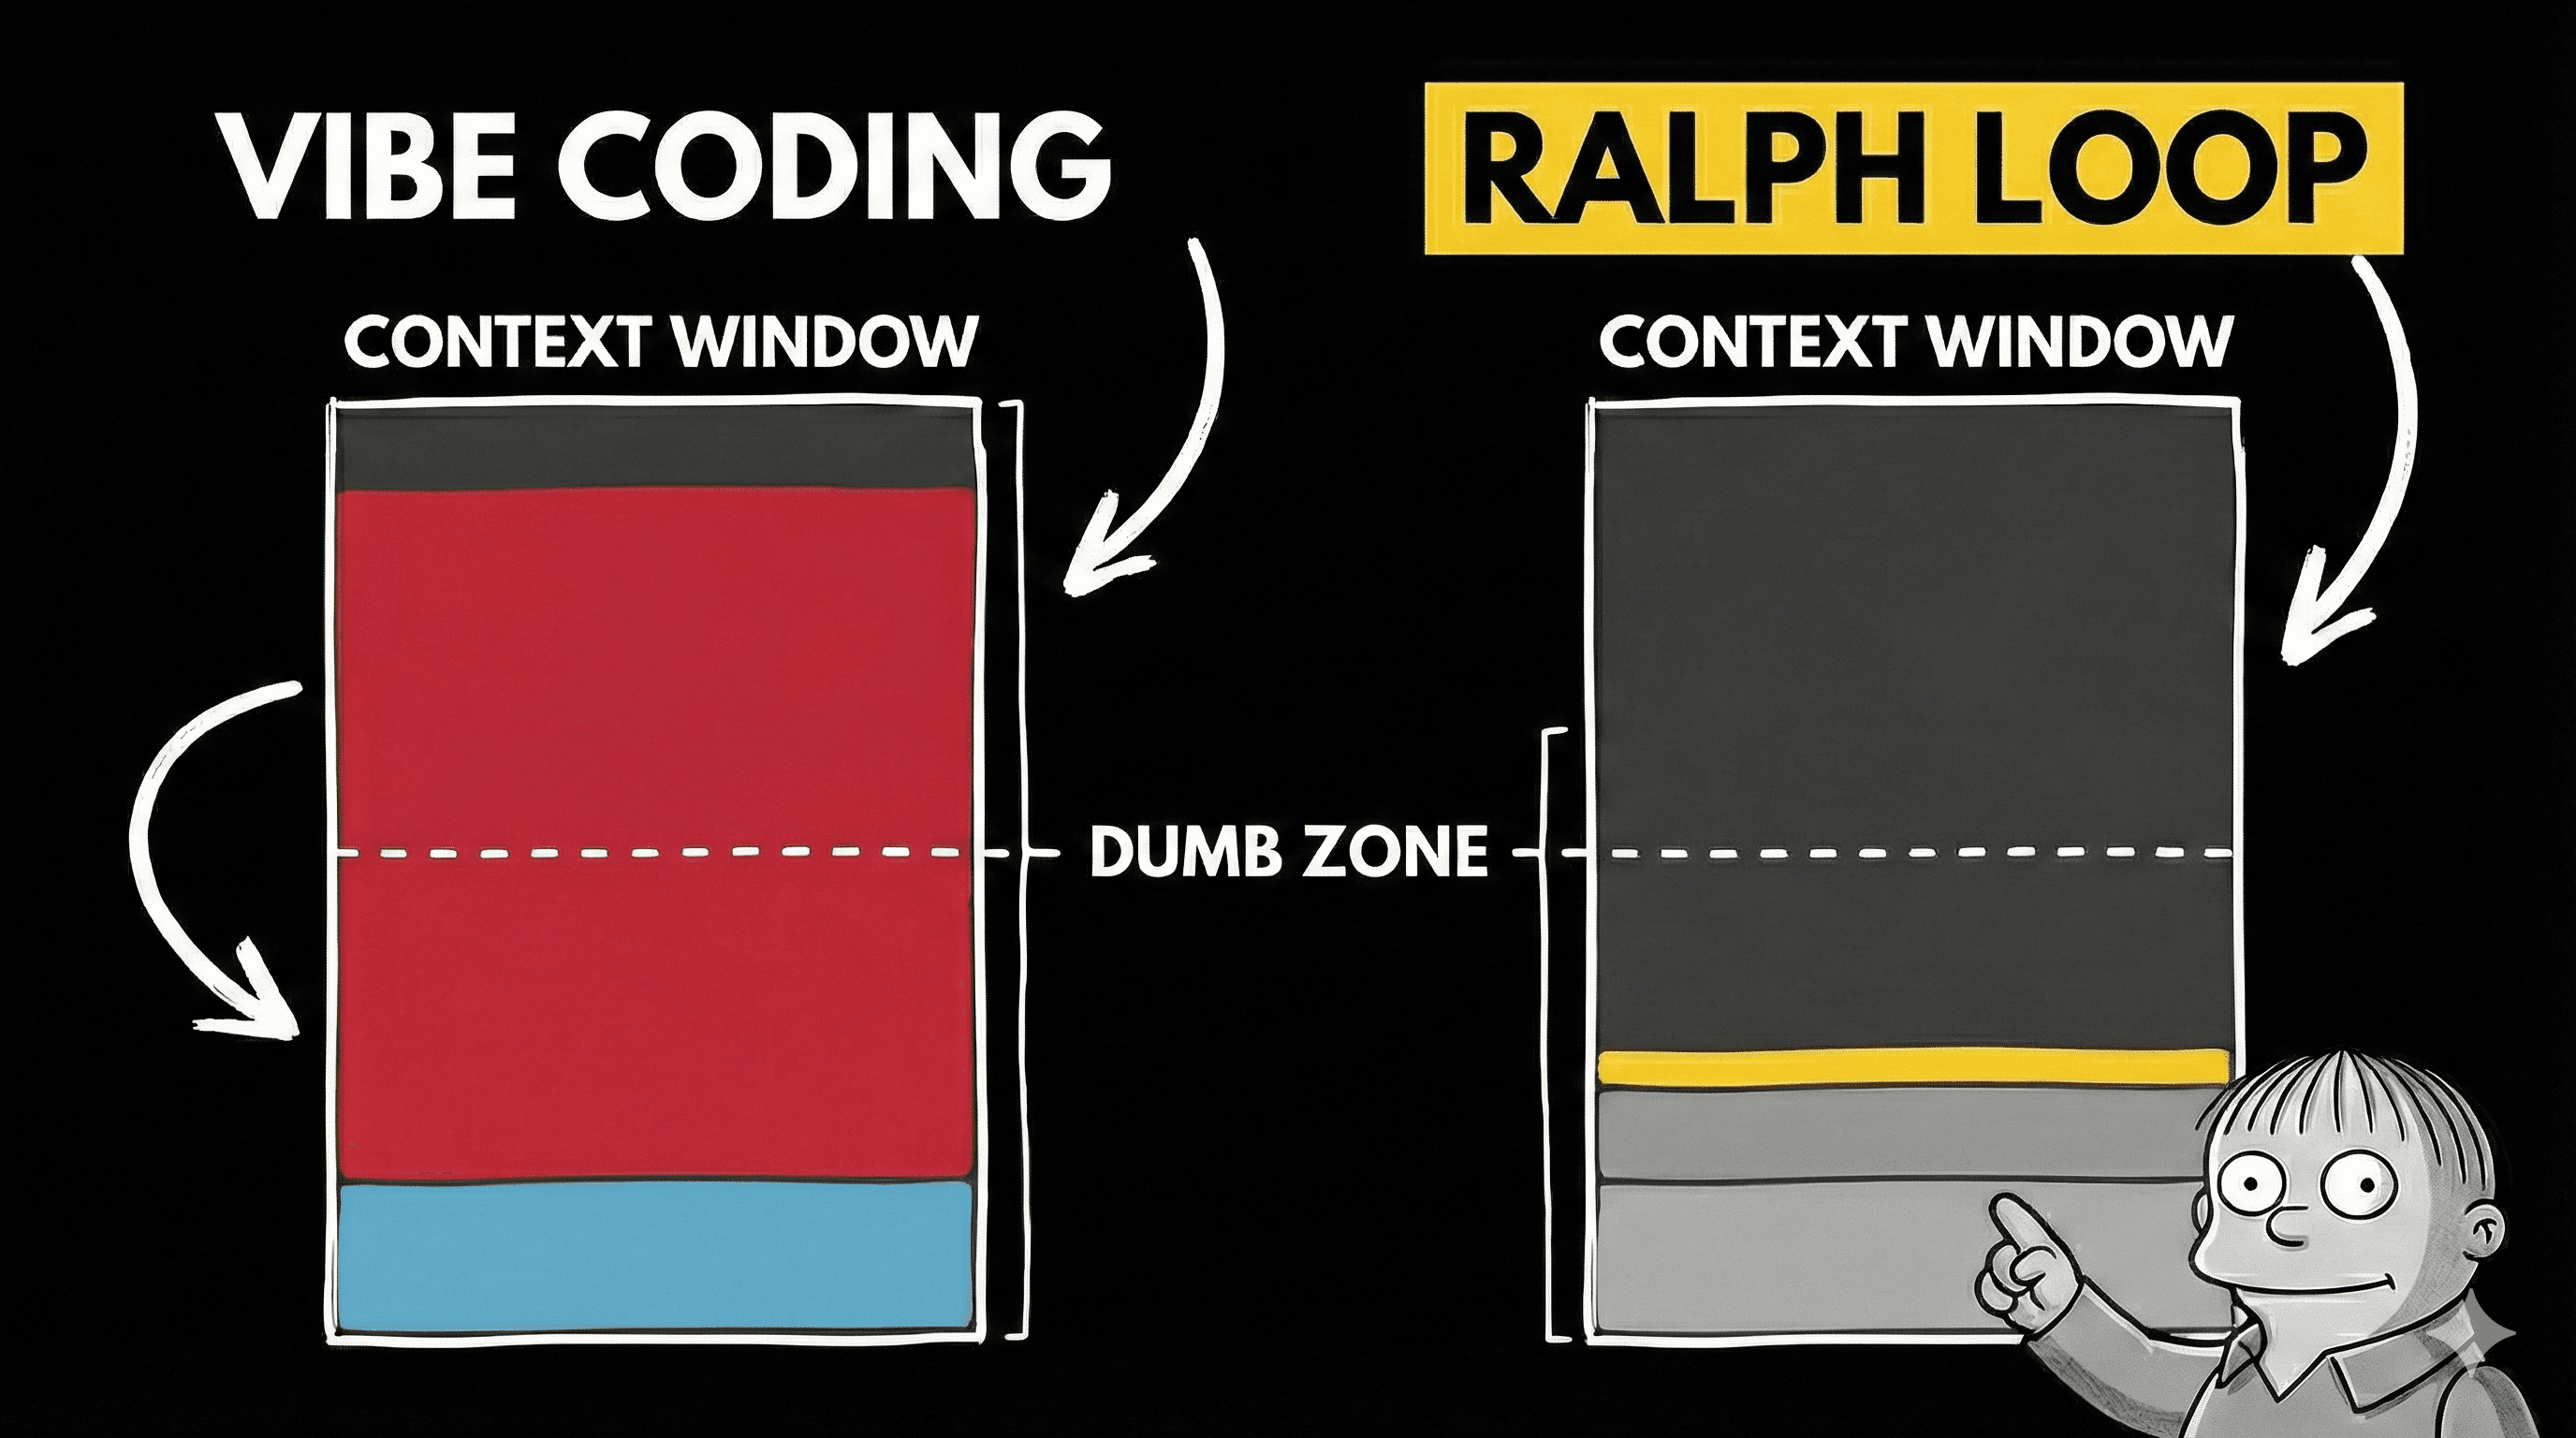
Starting fresh keeps the context usage low and prevents the LLM from going into the so-called "dumb zone" where it starts to forget the initial parts of the conversation. This allows for more complex projects to be built.
And this makes perfect sense. As a human (😃) developer, you also don't look at the entire codebase at once. When you start on a task, you choose a subset of relevant files and work on those. A vertical slice of the codebase.
This is not that different, and perhaps it is also the reason why the Ralph Loop works so well.
On top of that, the strict validation of each task prevents implementation drift and ensures the project can scale to a larger codebase. This is in no part due to automated testing (unit and end-to-end), which I will cover in detail later in the article.
Are there any official implementations?
The closest official implementation is the Claude Code Ralph Wiggum plugin, which by now has been considered bad practice because it goes against the core Ralph Loop principles. That is, the plugin ends up using the same context for every iteration and using auto-compact when it exceeds the context window. This doesn't scale and also does not cover the strict validation of each task.
That's exactly why I built the
@pageai/ralph-looppackage. This is an implementation that encapsulates the actual principles of the Ralph Loop, as well as the prompts, skills and scripts needed to get the loop running properly.
Quick Start
Please install Docker and Claude Code first.
If you just want to try out an example, here's a fast way to get going:
# Set up codebase
npx @tanstack/cli create lib --add-ons shadcn,eslint,form,tanstack-query --no-git

# Set up Ralph Loop
npx @pageai/ralph-loop
Open Claude Code and prompt it:
Use the prd-creator skill to help me create a PRD and task list for the below requirements. An app is already set up with React, Tailwind CSS and TypeScript.

Requirements:

- A SaaS product that helps users manage their finances.
// etc.
See full prompt example later in the article.
Log in and run the loop:
# Log in to Claude Code inside the Docker sandbox
npx @pageai/ralph-loop

# Run the loop
./ralph.sh
Full documentation is available in the Ralph Loop GitHub repo.
The Loop Is Not the Most Important Part
In coding terms, the loop itself is just a few lines. People run this as a script with all sorts of agentic AI CLIs, such as Claude Code, Codex, Cursor CLI or even Gemini CLI.
Now here's what nobody tells you.
The loop is just the end goal.
To get to that part, you need to put together a bunch of prompts. You need requirements, you need to break down tasks, and you need good success criteria.
Nobody tells you this because, let's be honest, it becomes a lot less sexy than running a basic loop. Plus, you actually need to put in a lot more work than the script above.
Luckily for you, I have read a bunch of material on the topic and encapsulated it in my workflow already.
What I'm about to share will be incredibly freeing. You'll be able to just dump your ideas and thoughts in your own words, and then a skill will create a professional product requirements document, break it down into tasks for you to review.
These tasks are perfectly suited for an AI agent running in the Ralph Loop.
Let's get into it!
Want to skip the setup?
PageAI includes 100s of components, AI rules and pre-configured tooling so your Ralph Loop starts from a solid foundation.
What You'll Need
Before we start, you'll need a couple of things installed:
- Docker
- Docker Sandboxes — the Ralph Loop runs in a sandboxed Docker environment
- Claude Code* — the AI CLI that powers the loop
That's it. Everything else is installed automatically.
* You can use any AI CLI that supports agentic workflows, such as Claude Code, Codex, Gemini CLI, Copilot CLI, Kiro, OpenCode etc.
Check support in Docker's sandbox documentation.
💁♂️ New to Docker Sandboxes? Start with the Docker Sandboxes (sbx) Quick Start for install and basics, then come back to run the loop.
Step by Step Guide
(Optional but recommended) Bootstrap Your Codebase
Before running the loop, you should bootstrap some things in your codebase. You don't strictly need to do this, but I highly recommend it.
Why? It will save you time, tokens, and you will start with a better foundation that you have complete control of.
For example, I used the TanStack Start CLI to scaffold a frontend + backend project. And while I was at it, I also installed the libraries for Auth and Payments.
# Set up codebase
npx @tanstack/cli create lib --add-ons shadcn,eslint,form,tanstack-query --no-git
Remember to install & configure Playwright and Vitest as testing frameworks. These are critical for the Ralph Loop to verify its own work. Check reference configuration for examples on how to set those up.
Step 1: Install the Ralph Loop
Run only one command to get started:
npx @pageai/ralph-loop
See complete docs for the Ralph Loop CLI here
That will install all necessary scripts and skills so you can focus on your brand new job as boss and chief architect.
All the instructions, prompts, and source code are available on the
@pageai/ralph-loopGitHub repo.
After you run the script, you'll see a new .agent/ directory in your project with everything you need:
.agent/
├── PROMPT.md          # Main iteration instructions
├── SUMMARY.md         # Project summary for context
├── STEERING.md        # Steer the agent mid-run
├── tasks.json         # Task lookup table
├── tasks/             # Individual task specifications
├── prd/               # Product requirements documents
├── logs/              # Progress tracking
├── history/           # Iteration outputs
└── skills/            # Reusable agent capabilities

# The script will also create .agents, .claude etc. directories with skills symlinked to `.agent/skills/` so you can use them with your favorite AI CLI.
Step 2: Write Your Requirements
After installation, you can brain dump all of your requirements into one prompt. This is where you describe your project:
- what it should do
- how it should look
- any technical constraints
- documentation
- integrations with third party services
For example, here's what I wrote for a multi-language subtitle generator app:
Use the prd-creator skill to help me create a PRD and task list for these requirements:

You are building an app called "Supasub" that allows users to paste a video of a YouTube link and generate subtitles for multiple languages.

- The design should be mobile friendly, grayscale and minimalistic. Use TailwindCSS and shadcn/ui for the components.
- you should be able to sign up via email + password or via Google
- you should be able to log in
- for auth, use Better Auth
  - as database, use an SQLite database
- after you log in, you should be redirected to a dashboard
- the dashboard has a sidebar on the left showing the following options:
  - "New video"
  - "My videos"
  and at the bottom:
  - "Upgrade" button
  - "Settings"
  - "Logout"
- if you press new video, you will get a simple centered input where you can paste a YouTube video link
  - there should be a "next" button that will take you to step two: language selection for the subtitles
  - you will have a typeahead input with all languages and you can select up to 3 if you are not a pro user, otherwise as many as you want
  - after you select the languages, the subtitle generation process will kick off and you will be redirected to a loading screen. Each subtitle will be generated in parallel.
  - Behind the scenes, an API should use the Supadata API to get the youtube video transcription. See @docs/SUPADATA_API.md for usage. This runs as a background job.
  - The transcript will then be used to generate subtitles using the OpenAI API, GPT 5.2 model
  - API keys for both Supadata and OpenAI are already available as SUPADATA_API_KEY and OPENAI_API_KEY environment variables. Use them.
  - subtitles are generated in a format YouTube reads. They are meant to be uploaded back to YouTube to increase language compatibility.
- when complete, you can see previously generated subtitles under the "My videos" section
- there should be a way to open subtitles and render them in a nice way on page
- when done, there should be an icon to download subtitles on each of the subtitle and a button "Download all" to download all subtitles at once
  - the button to download all should be shown both in the loading screen (when done) and in the my videos page, as well as when you "open" a subtitle to preview it.
- you should be able to always press upgrade from any page on the dashboard to upgrade to a pro account
  - when you press upgrade, a payment overlay should open up
  - use the embedded checkout from Polar to handle the payment. The documentation is available at @docs/POLAR_CHECKOUT.md
  - upon successful payment, you should update the SQLite database to mark the user as a pro user
- Pro users will get 100 subtitle generations per month in unlimited languages
- Free users will get 1 subtitle generation per month in 3 languages
- Users can go to settings and unsubscribe from the service at any time
- On the settings page, there should be a way to reset password

For technology, use Next.js, TailwindCSS, shadcn/ui, SQLite, Better Auth, Polar, OpenAI, Supadata, and Vercel to deploy.
I wrote that the app should take a video link from YouTube, then transcribe it with Supadata and then generate subtitles in multiple languages that I can download.
I dumped everything that went through my head, including UI specifications, flows, payment integration, as well as any technical requirements.
Pro Tips for Writing Requirements
- Prepare your API keys beforehand. Write them into a
.envfile in the project root. You typically need keys for your database, payment service or LLM provider.
Without these keys, the agent will move forward without actually verifying the implementation. You might have some really nasty surprises later on.
- If you're unsure about an integration, ask the AI to interview you. For example, if you are unsure about the payment integration, you can add this to your requirements:
For payment, I want to use Polar.sh, but I am not sure exactly how to implement the embedded checkout.
Interview me about it and make sure provide all the necessary details as well as keys or settings needed for the integration.
- Point the AI to exact documentation. When you're integrating with a third party service, I recommend that you point the AI agent to the precise documentation of that service so you avoid implementation drift. Especially with a Ralph Loop, you don't want to have the AI doing guesswork.
What works best is to go to the documentation of the third party service, find the exact doc page, press "view as markdown" and save that markdown file into your project. Then reference it in your requirements:
> ## Documentation Index
> Fetch the complete documentation index at: https://polar.sh/docs/llms.txt
> Use this file to discover all available pages before exploring further.

# Embedded Checkout

> Embed our checkout directly on your site

<img src="https://polar.sh/docs/assets/features/checkout/embed/demo.png" />

You can either copy and paste our code snippet to get up and running in a second or use our JavaScript library for more advanced integrations. Our embedded checkout allows you to provide a seamless purchasing experience without redirecting users away from your site.

## Code Snippet

The code snippet can be used on any website or CMS that allows you to insert HTML.

First, create a [Checkout Link](/features/checkout/links) as described in the previous section. The code snippet can directly be copied from there by clicking on `Copy Embed Code`.

The snippet looks like this:

```typescript  theme={null}
<a
  href="__CHECKOUT_LINK__"
  data-polar-checkout
  data-polar-checkout-theme="light"
>
  Purchase
</a>

<script
  defer
  data-auto-init
  src="https://cdn.jsdelivr.net/npm/@polar-sh/checkout@latest/dist/embed.global.js"
></script>
```

This will display a `Purchase` link which will open an inline checkout when clicked.

You can style the trigger element any way you want, as long as you keep the `data-polar-checkout` attribute.

## Import Library

If you have a more advanced project in JavaScript, like a React app, adding the `<script>` tag may not be an option. In this case, you can install our dedicated library.

<CodeGroup>
  ```bash npm theme={null}
  npm install @polar-sh/checkout
  ```

  ```bash pnpm theme={null}
  pnpm add @polar-sh/checkout
  ```

  ```bash yarn theme={null}
  yarn add @polar-sh/checkout
  ```
</CodeGroup>

Then, you should import the `PolarEmbedCheckout` helper class and manually call `PolarEmbedCheckout.init()`. This will add the required handlers on elements having the `data-polar-checkout` attribute.

Here is an example in React:

```ts  theme={null}
import { PolarEmbedCheckout } from '@polar-sh/checkout/embed'
import { useEffect } from 'react'

const PurchaseLink = () => {
  useEffect(() => {
    PolarEmbedCheckout.init()
  }, [])

  return (
    <a
      href="__CHECKOUT_LINK__"
      data-polar-checkout
      data-polar-checkout-theme="light"
    >
      Purchase
    </a>
  )
}

export default PurchaseLink
```

<Tip>
  Instead of a Checkout Link, you can also use a [Checkout Session](/features/checkout/session) URL created dynamically from the API.

  For this to work, make sure to set the [`embed_origin`](/api-reference/checkouts/create-session#body-embed-origin) parameter correctly when creating the Checkout Session. For example, if your checkout page is served on the URL `https://example.com/checkout`, you should set `embed_origin` to `https://example.com`.
</Tip>

## Advanced Integration

For users who need more control over the embedded checkout flow, the `PolarEmbedCheckout` class provides several advanced features.

### Programmatically creating an embed

Instead of using declarative triggers with `data-polar-checkout` attributes, you can programmatically create and control checkout instances:

```ts  theme={null}
import { PolarEmbedCheckout } from "@polar-sh/checkout/embed";

// Open checkout programmatically when needed
const openCheckout = async () => {
  const checkoutLink = "__CHECKOUT_LINK__";
  const theme = "light"; // or 'dark'

  try {
    // This creates the checkout iframe and returns a Promise
    // that resolves when the checkout is fully loaded
    const checkout = await PolarEmbedCheckout.create(checkoutLink, {
      theme,
    });

    // Now you can interact with the checkout instance
    return checkout;
  } catch (error) {
    console.error("Failed to open checkout", error);
  }
};

// Example: Trigger checkout when a button is clicked
document.getElementById("buy-button").addEventListener("click", () => {
  openCheckout();
});
```

### Listening for checkout events

You can listen for checkout events to respond to user interactions. For the `loaded` event, we recommend using the `onLoaded` callback in the `create` method to ensure it's always executed, even if the checkout loads very quickly.

```ts  theme={null}
import { PolarEmbedCheckout } from "@polar-sh/checkout/embed";

const openCheckoutWithEvents = async () => {
  const checkout = await PolarEmbedCheckout.create("__CHECKOUT_LINK__", {
    onLoaded: (event) => {
      console.log("Checkout loaded");
    },
  });

  // Listen for when the checkout has been closed
  checkout.addEventListener("close", (event) => {
    console.log("Checkout has been closed");
    // Call event.preventDefault() if you want to prevent the standard behavior
    // event.preventDefault()
  });

  // Listen for when the checkout has been confirmed (payment processing)
  checkout.addEventListener("confirmed", (event) => {
    console.log("Order confirmed, processing payment");
    // Call event.preventDefault() if you want to prevent the standard behavior
    // event.preventDefault()
    // Note: This would prevent setting the checkout as non-closable
  });

  // Listen for successful completion
  checkout.addEventListener("success", (event) => {
    console.log("Purchase successful!", event.detail);

    // Call event.preventDefault() if you want to prevent the standard behavior
    // event.preventDefault()
    // Note: For success event, this prevents automatic redirection if redirect is true

    // If redirect is false, you can show your own success message
    if (!event.detail.redirect) {
      showSuccessMessage();
    }
    // Otherwise, the user will be redirected to the success URL (unless prevented)
  });

  return checkout;
};
```

### React Integration with event handling

Here's a more complete React example that handles checkout events:

```ts  theme={null}
import { PolarEmbedCheckout } from '@polar-sh/checkout/embed'
import { useState, useEffect } from 'react'

const CheckoutButton = () => {
  const [checkoutInstance, setCheckoutInstance] = useState(null)

  // Clean up checkout instance on unmount
  useEffect(() => {
    return () => {
      if (checkoutInstance) {
        checkoutInstance.close()
      }
    }
  }, [checkoutInstance])

  const handleCheckout = async () => {
      try {
        const checkout = await PolarEmbedCheckout.create(
          '__CHECKOUT_LINK__',
          {
            theme: 'light',
            onLoaded: (event) => {
              console.log('Checkout loaded successfully');
              // This is guaranteed to be called even if checkout loads quickly
            }
          }
        )

      setCheckoutInstance(checkout)

      checkout.addEventListener('success', (event) => {
        // Track successful purchase
        analytics.track('Purchase Completed', {
          productId: 'your-product-id',
          // Add other analytics data
        })

        // Show success message or redirect
        if (!event.detail.redirect) {
          // Handle success in your app
        }
      })

      checkout.addEventListener('close', (event) => {
        // Clean up our reference when checkout is closed
        setCheckoutInstance(null)
      })
    } catch (error) {
      console.error('Failed to open checkout', error)
    }
  }

  return (
    <button onClick={handleCheckout}>
      Complete Purchase
    </button>
  )
}

export default CheckoutButton
```

### Programmatically closing checkout

In some cases, you might need to programmatically close the checkout - for instance, if you detect that a user needs to take an action elsewhere in your application first:

```ts  theme={null}
import { PolarEmbedCheckout } from "@polar-sh/checkout/embed";

// Example: open checkout and store the instance
let activeCheckout = null;

async function openCheckout() {
  const checkout = await PolarEmbedCheckout.create("__CHECKOUT_LINK__");
  activeCheckout = checkout;
  return checkout;
}

// Later, close it programmatically when needed
function closeCheckout() {
  if (activeCheckout) {
    activeCheckout.close();
    // The 'close' event will fire automatically
    // Don't set activeCheckout to null here, as we'll handle that in the event listener
  }
}

// Add a listener to update our reference when checkout is closed
function setupCheckout(checkout) {
  checkout.addEventListener("close", (event) => {
    // Reset our reference when checkout is closed
    activeCheckout = null;
  });
  return checkout;
}

// Example usage
document.getElementById("open-checkout").addEventListener("click", async () => {
  const checkout = await openCheckout();
  setupCheckout(checkout);
});
document
  .getElementById("close-checkout")
  .addEventListener("click", closeCheckout);
```

## Enabling Wallet Payment Methods (Apple Pay, Google Pay, etc.)

Wallet payment methods such as Apple Pay and Google Pay are supported in the checkout with the following conditions:

* **Apple Pay** appears automatically in the checkout if:
  * The user is on an Apple device
  * The browser is Safari
  * The device is connected to an Apple account with Apple Pay configured

* **Google Pay** appears automatically in the checkout if:
  * The user is on Google Chrome
  * The browser is connected to a Google account with Google Pay configured

**No additional action is required** if you meet these conditions and are not using an embedded checkout.

### Enabling Wallet Payments for Embedded Checkout

By default, wallet payment methods (Apple Pay, Google Pay, etc.) are **not enabled** when you embed our checkout form into your website. For security reasons, your website domain needs to be manually validated before enabling these payment methods in embedded mode.

To enable wallet payment methods on your embedded checkout, please [email us](mailto:[email protected]) with:

* Your organization slug
* The domain you wish to allow for wallet payments
After you send the prompt the agent expands the requirements and tries to fill in the gaps.
When it can't figure something out, it'll ask you questions. After you answer all questions, it creates an executive summary. If you approve this, it proceeds to create a task list, and then breaks each task down into simple implementation steps.
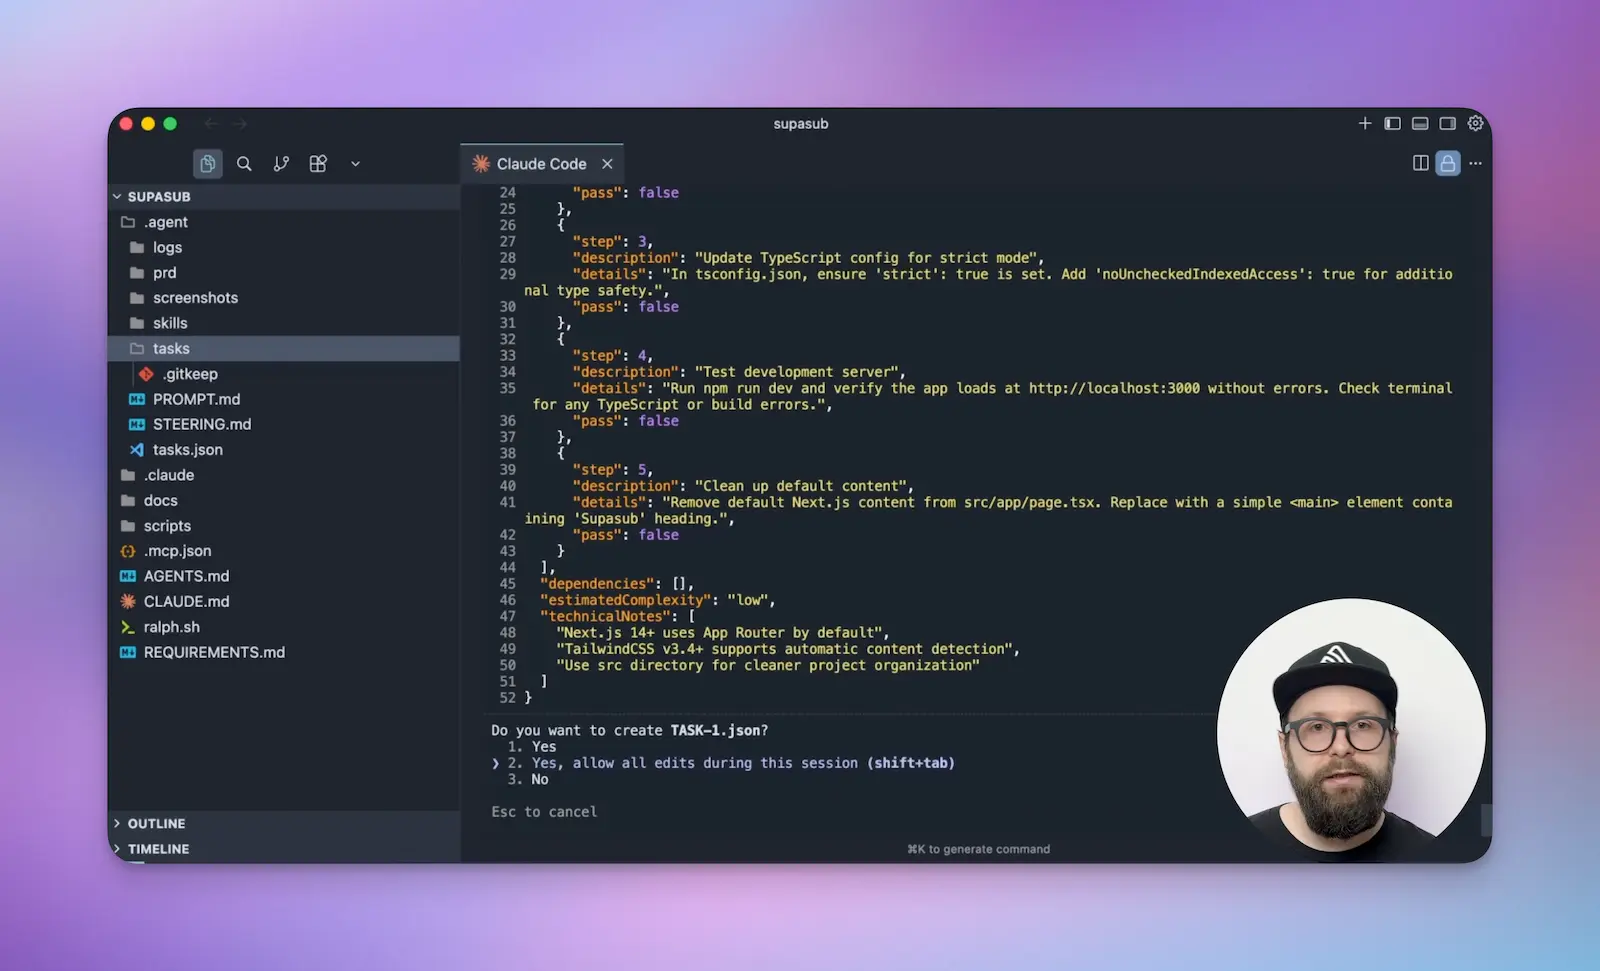
For each of them, you'll get the chance to review or specify any additional details it might have missed.
🚨 Don't Skip the Review
I know you will have an incredible urge to just accept everything and not read the tasks. I'm warning you: if you don't review, you will have nasty surprises later.
In my case, the PRD creator generated 78 tasks. Each one with detailed steps, acceptance criteria and dependencies.
Want to skip the setup?
PageAI includes 100s of components, AI rules and pre-configured tooling so your Ralph Loop starts from a solid foundation.
Step 3: Run the Ralph Loop
Before we continue, Ralph needs Claude Code to run with full permissions. Don't worry! The script runs in a sandboxed Docker environment, so Claude Code won't be able to nuke your operating system.
To log in, run:
sbx run claude .
Answer yes to bypass permissions mode, and then exit.
💁♂️
sbxis Docker's standalone sandbox CLI — the recommended way to run agents in a microVM. If you haven't installed it yet, see the Docker Sandboxes Quick Start.
The moment we've been waiting for.
Now we can run the loop with:
# Run the ralph loop with 20 iterations
./ralph.sh -n 20
That's it. Ralph picks up a task based on priority and starts implementing it. The script shows a sneak peek of what's going on so you can keep an eye on things.
It will blast through all of the tasks until the project is complete.
Start Small, Then Scale
I recommend that you start with 1-2 iterations first and check the results:
./ralph.sh -n 2
Then as you feel more confident, bump it to 10 iterations:
./ralph.sh -n 10
And once all the basics are implemented, you could go up to 30 iterations, which should be more than enough for it to run overnight:
./ralph.sh -n 30
Steer Mid-Run
While the loop operates, you can edit .agent/STEERING.md to flag critical blockers. The agent checks this file each iteration and will skip tasks to complete the critical work first.
Behind the Scenes: Anatomy of the Workflow
Now let's dive deep into what's really going on.
The Product Requirements Document
A good place to start is the PRD. This document serves as the source of truth for the entire project. It can be used to regenerate tasks if needed because it contains all the high-level requirements as well as the implementation details.
This is way too big for AI to work with directly, so it gets broken into small, manageable tasks.
The Task System
Tasks are saved into a very efficient tasks.json file. This needs to be efficient because it will be loaded into context every time a new iteration starts.
Tasks only contain a name, minimal metadata, and most importantly: whether they're passing or not. That's how the AI knows which task to pick up next.
The task format is based on Anthropic's research on effective harnesses for long-running agents.
Each task also has a link to a spec file. If you open one up, you'll see a long description as well as detailed steps needed to complete the task. It also mentions how the agent can verify the task, along with dependencies and technical notes.
The Main Prompt
The main prompt that's sent with each iteration should be kept small and to the point. After weeks of iteration, here's what I ended up with:
- Project context — points the agent to
SUMMARY.md, a super brief description of the project - Dev environment — instructions on how to start the development environment (key for the AI to have a feedback loop)
- Task loop instructions — pick the highest priority non-passing task, read the full spec, implement, write tests, check for correctness
- Cleanup — save a screenshot, lint, type check, write a brief log, and commit
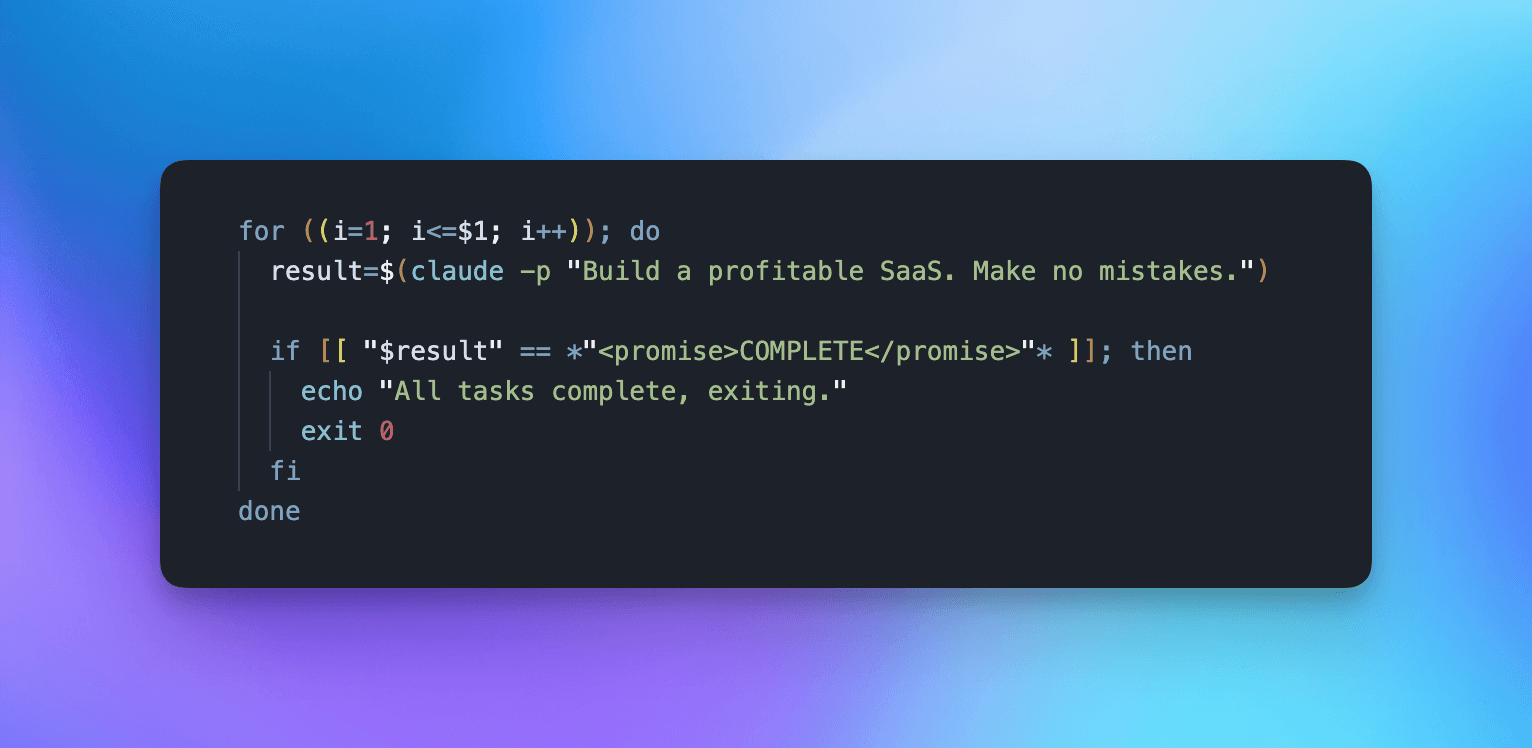
If all tasks are passing, the agent outputs <promise>COMPLETE</promise>. That's how the script knows to stop iterating.
Agent Skills and Instructions
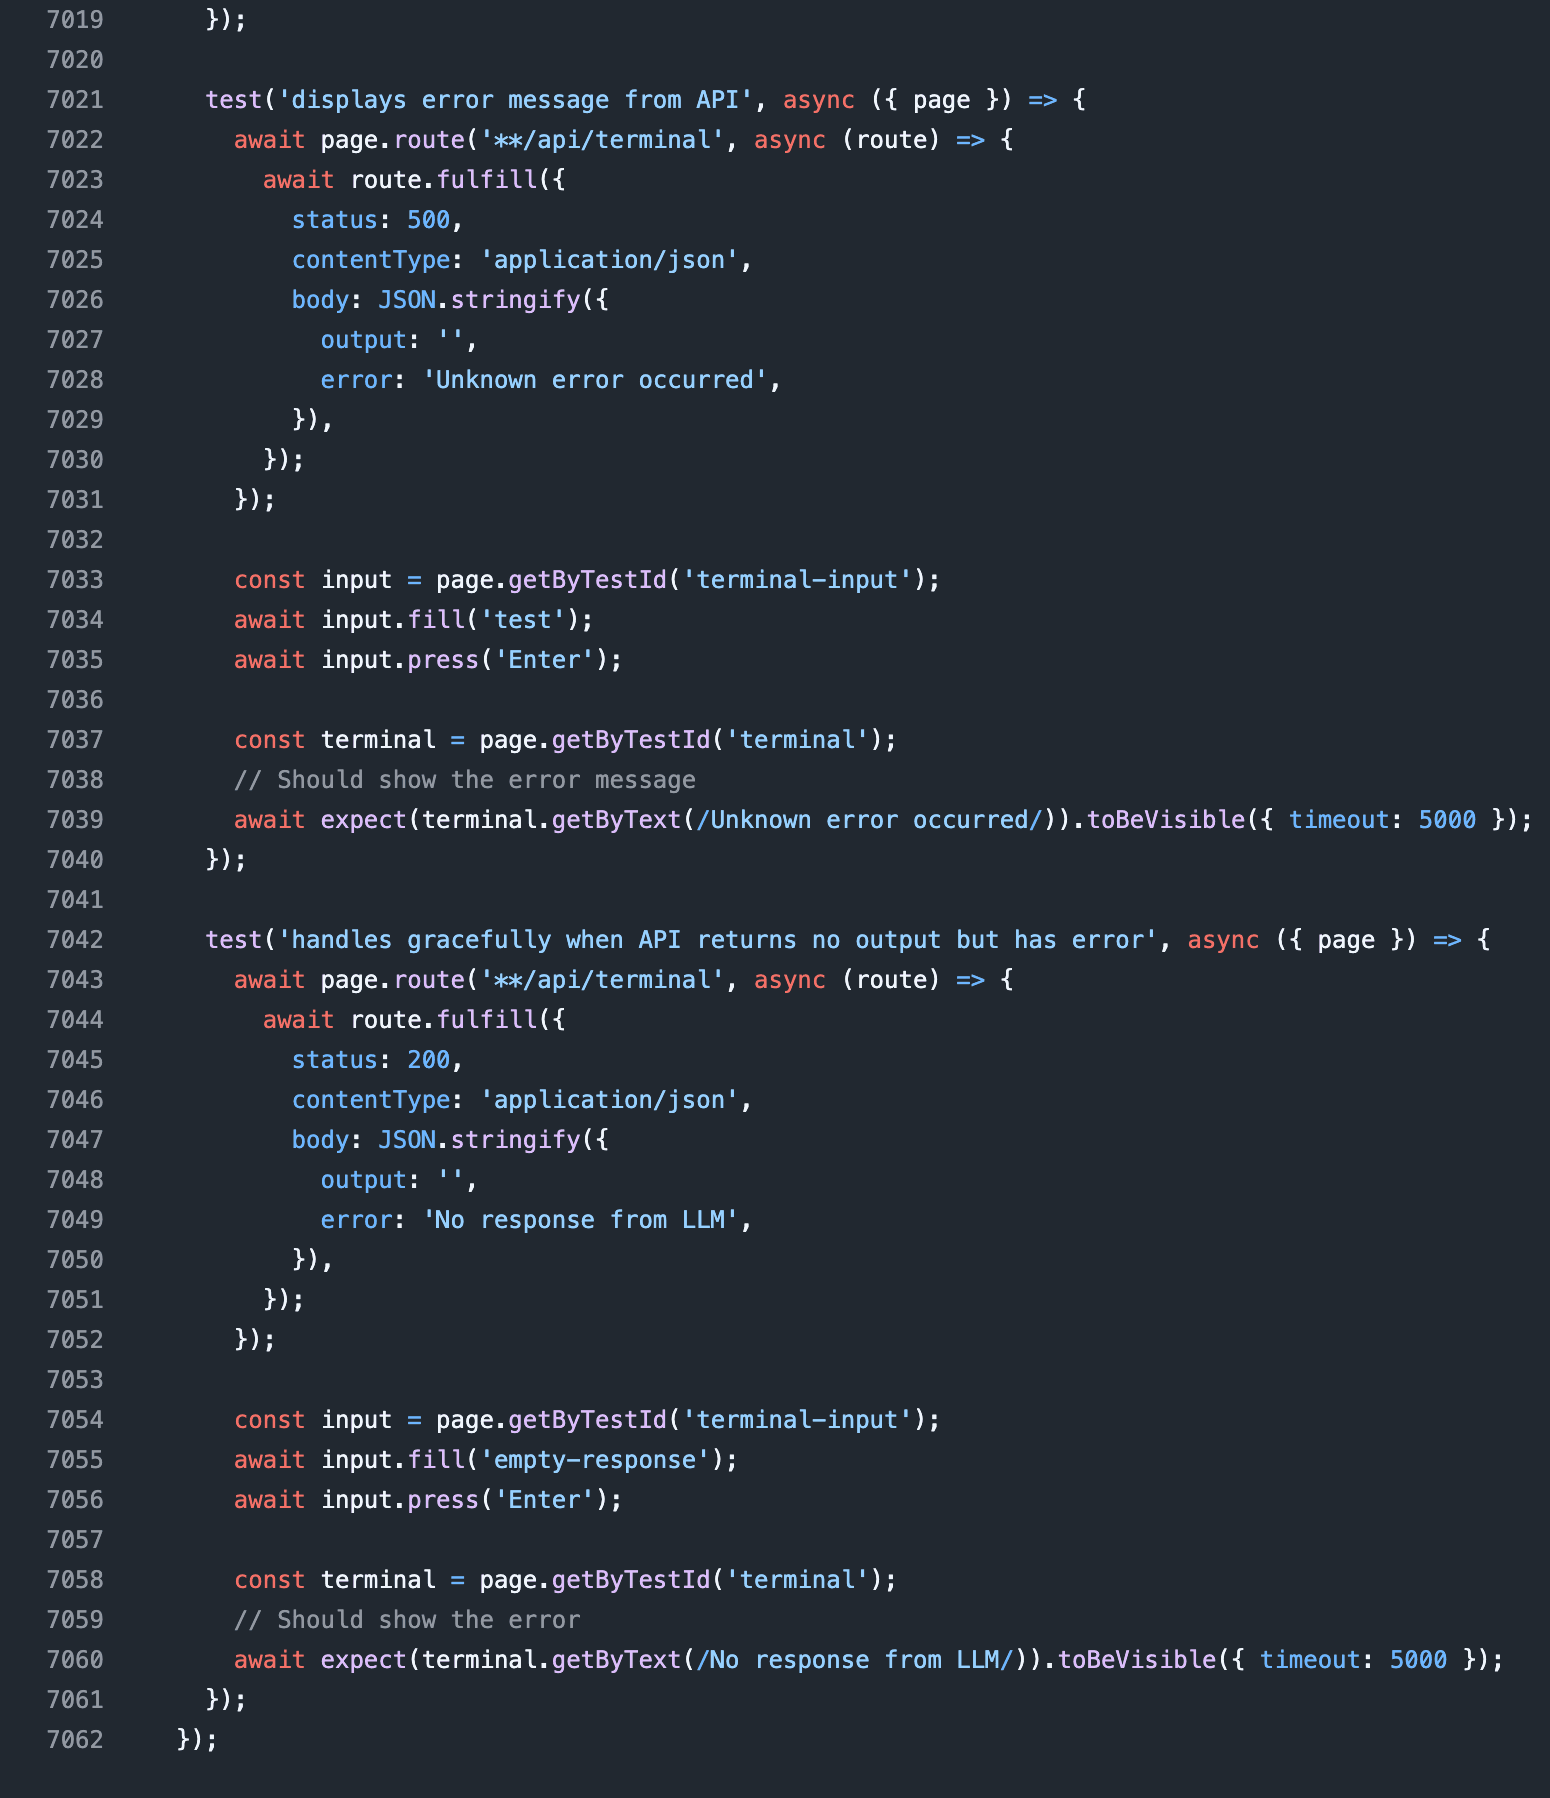
As I got wiser, I added a lot more instructions to AGENTS.md and quite a few extra agent skills. For example, skills to write better end-to-end tests, unit tests, and best practices for backend and frontend development.
This helped a ton with the quality and consistency of the code.
The @pageai/ralph-loop package ships with a few skills out of the box so you have all you need to generate the PRD, but also so your automated tests can scale with your codebase.
I highly encourage you to check skills.sh to install any relevant agent skills even before you start the loop.
The AGENTS.md Instructions
The AGENTS.md instructions are extremely important if you want Ralph to scale with a larger codebase. They cover splitting up files, keeping line counts low and essential best practices.
# Code Quality Standards

Always apply these standards to all code you write.

## Reuse Before Creating

Before writing new code, analyze existing utilities, components, hooks, helpers and tests:

1. **Search first** — grep/glob for similar functionality before implementing
2. **Extend if close** — if something exists that's 80% of what you need, extend it
3. **Extract if duplicating** — if you're about to copy-paste, extract to shared module instead

## File Size & Organization

Keep files between **200-300 lines max**. If a file exceeds this:

1. **Split by responsibility** — one module = one concern
2. **Extract sub-components** — UI pieces that can stand alone should
3. **Separate logic from presentation** — hooks/utils in their own files
4. **Group by feature** — co-locate related files, not by type

Signs a file needs splitting:
- Multiple unrelated exports
- Scrolling to find what you need
- "Utils" file becoming a junk drawer
- Component doing data fetching + transformation + rendering

## Code Style

1. Prefer writing clear code and use inline comments sparingly
2. Document methods with block comments at the top of the method
3. Use Conventional Commit format

## Test To Verify Functionality

If you didn't test it, it doesn't work.

Verify written code by:
- Running unit tests
- Running end to end tests
- Checking for type errors
- Checking for lint errors
- Smoke testing and checking for runtime errors with Playwright
- Taking screenshots and verifying the UI is as expected
As with the other files, you need to keep this one small and concise.
Why is this needed? I discovered this the hard way by finding a 7,000 line file 🙈 in my codebase that the AI was really struggling to work with.
No matter how good models such as Opus 4.6 or GPT 5.3 become, the files will become ineffective. That is, if you don't include these instructions.
Does the Ralph Loop actually work?
If you ask me, in the real world doing professional software development, is this useful or is it just hype?
I think this is a useful tool.
But! You need to understand that this is a tool. In software development we've always had tools. So like any tool, it has its own set of strengths and weaknesses.
Where It Shines
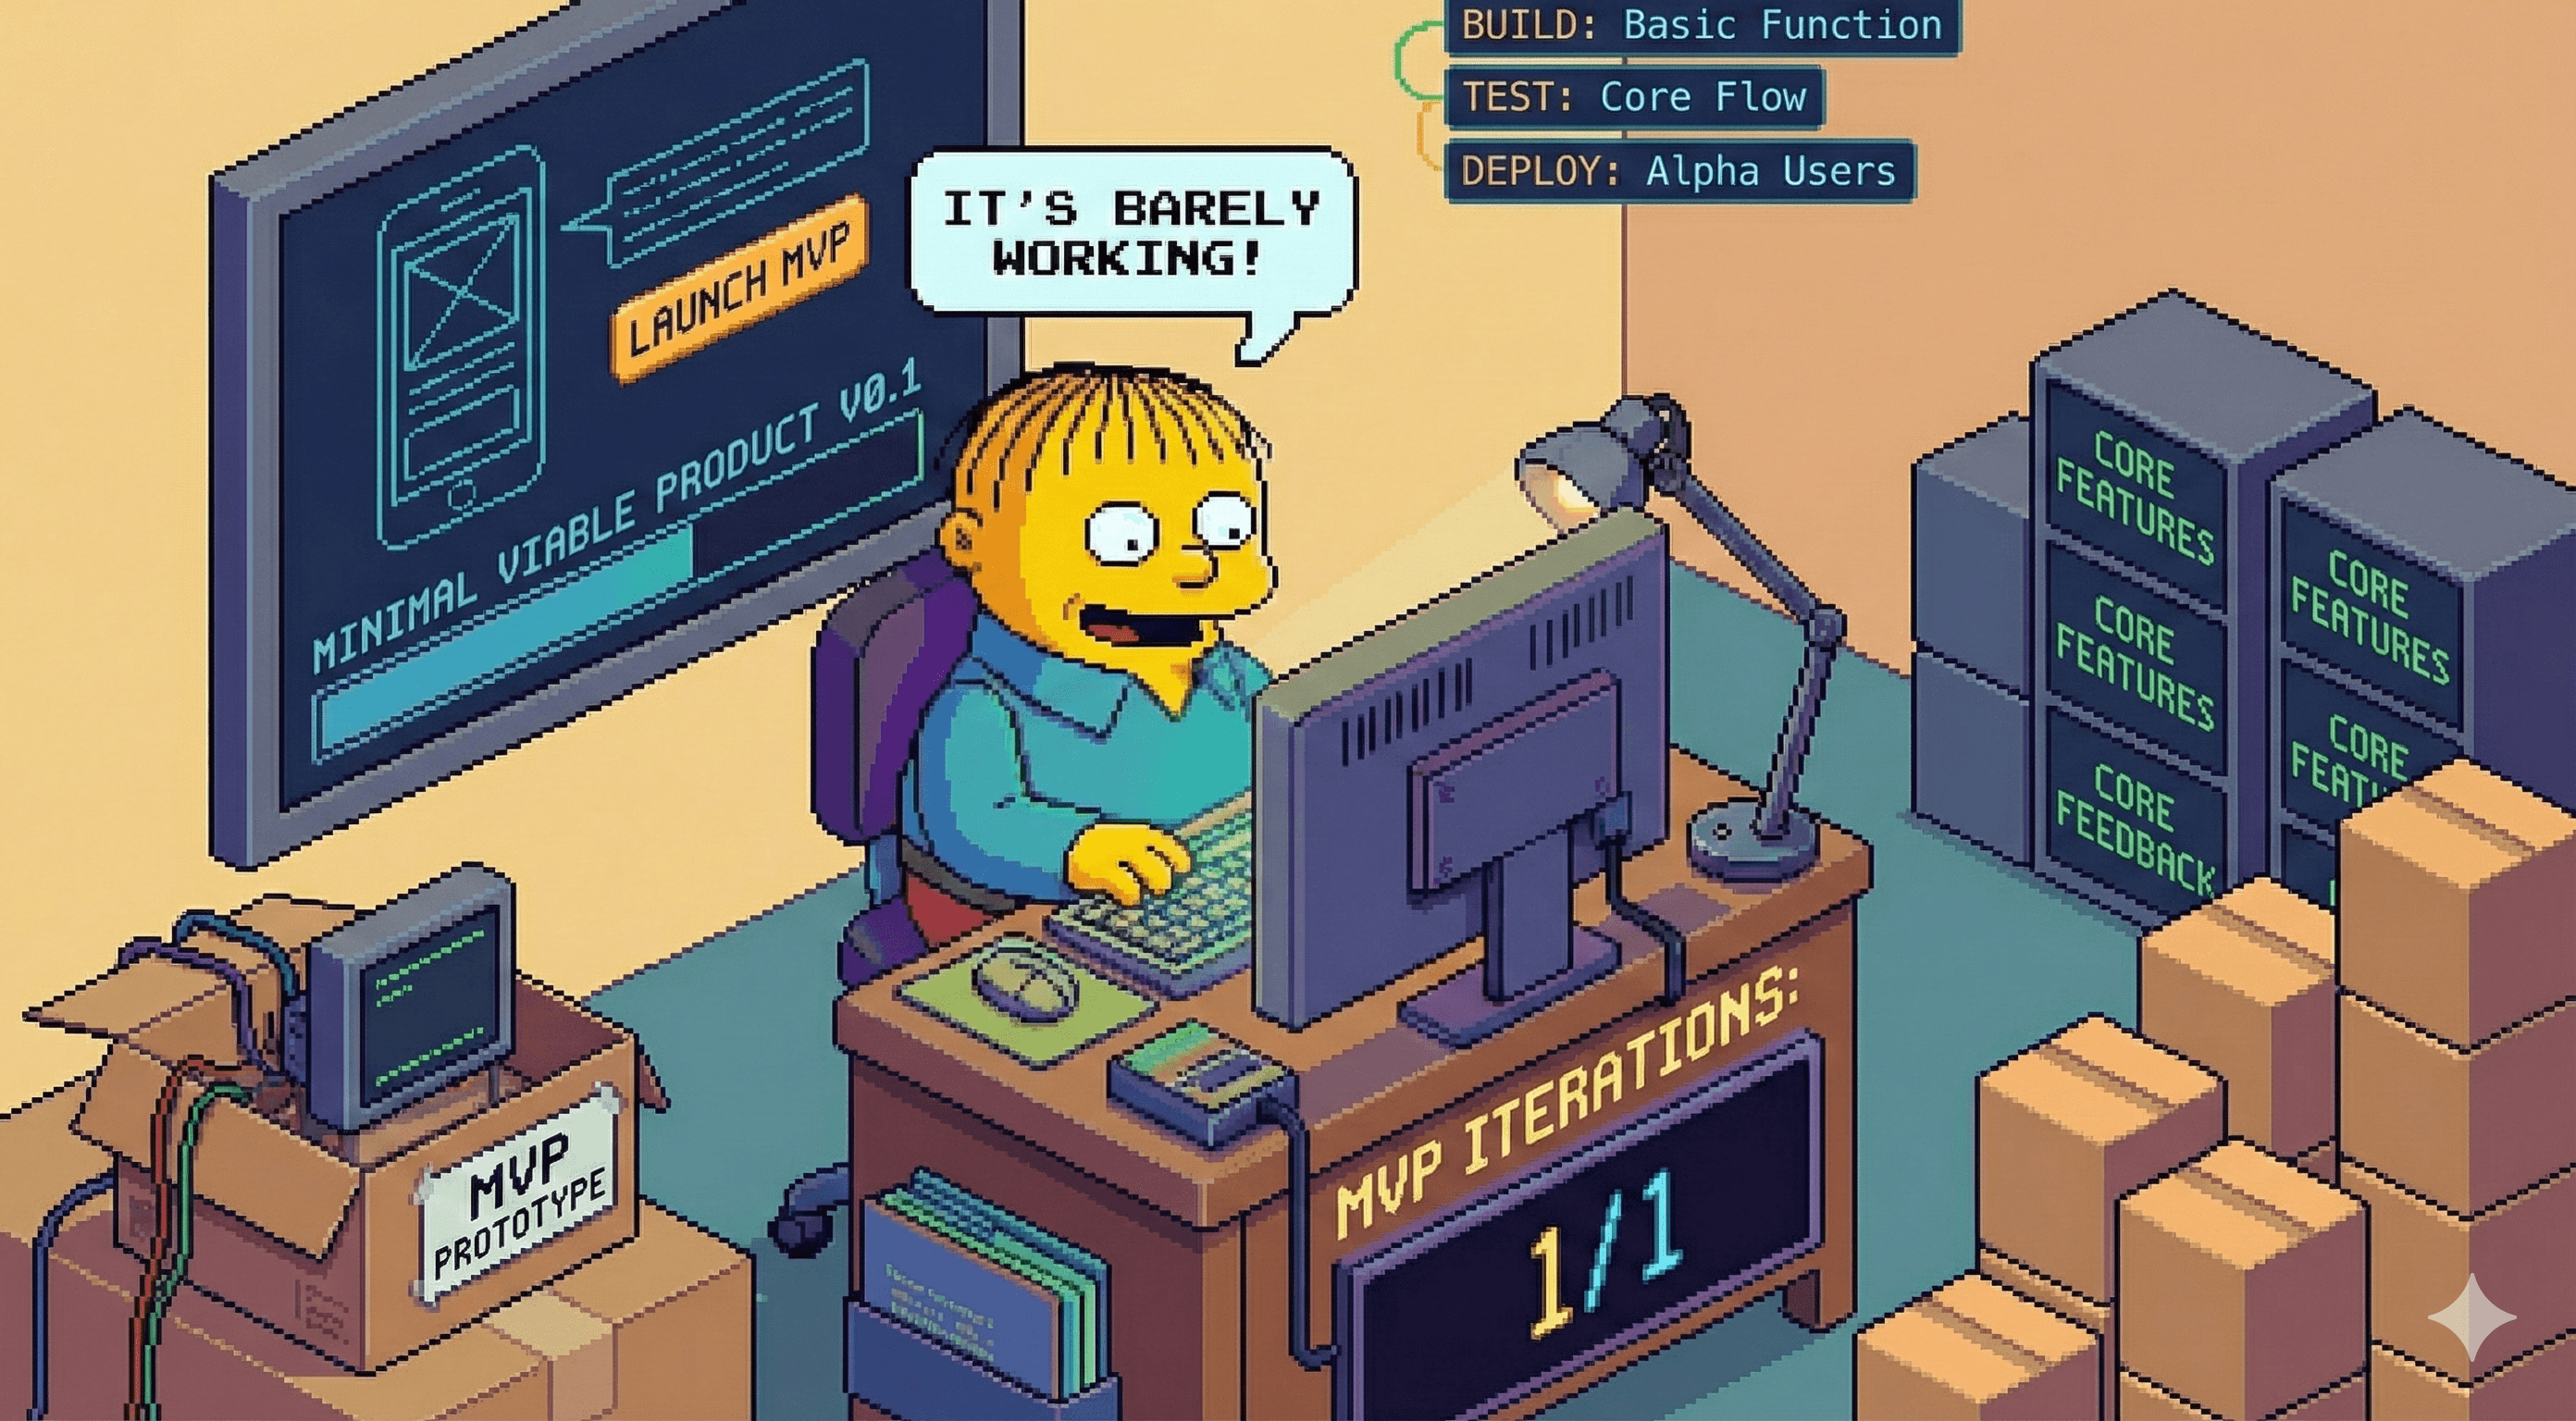
- Prototyping and MVPs — go from idea to working app incredibly fast
- Idea exploration — test concepts without investing weeks of development time
- Automated testing — writing end-to-end and unit tests that are traditionally very time consuming
- Migrations — migrating an entire codebase to a new version of a framework, library, or even a new cloud provider
- Repetitive tasks — bulk refactoring, file restructuring, boilerplate generation
Where It Struggles
- Novel architecture — truly unique systems that have no patterns to follow
- Nuanced UX — pixel-perfect design work and complex interaction flows
- Domain-specific logic — business rules that require deep domain expertise
- Security-critical code — code that absolutely cannot have edge cases
All that said, I think it's very important for you to get comfortable with it, try it out, do a project, see how it works and understand it. Looking at all the code, tests and documentation it has done for me in such a short time, I really think this is not going away anytime soon.
Your Role Is Changing
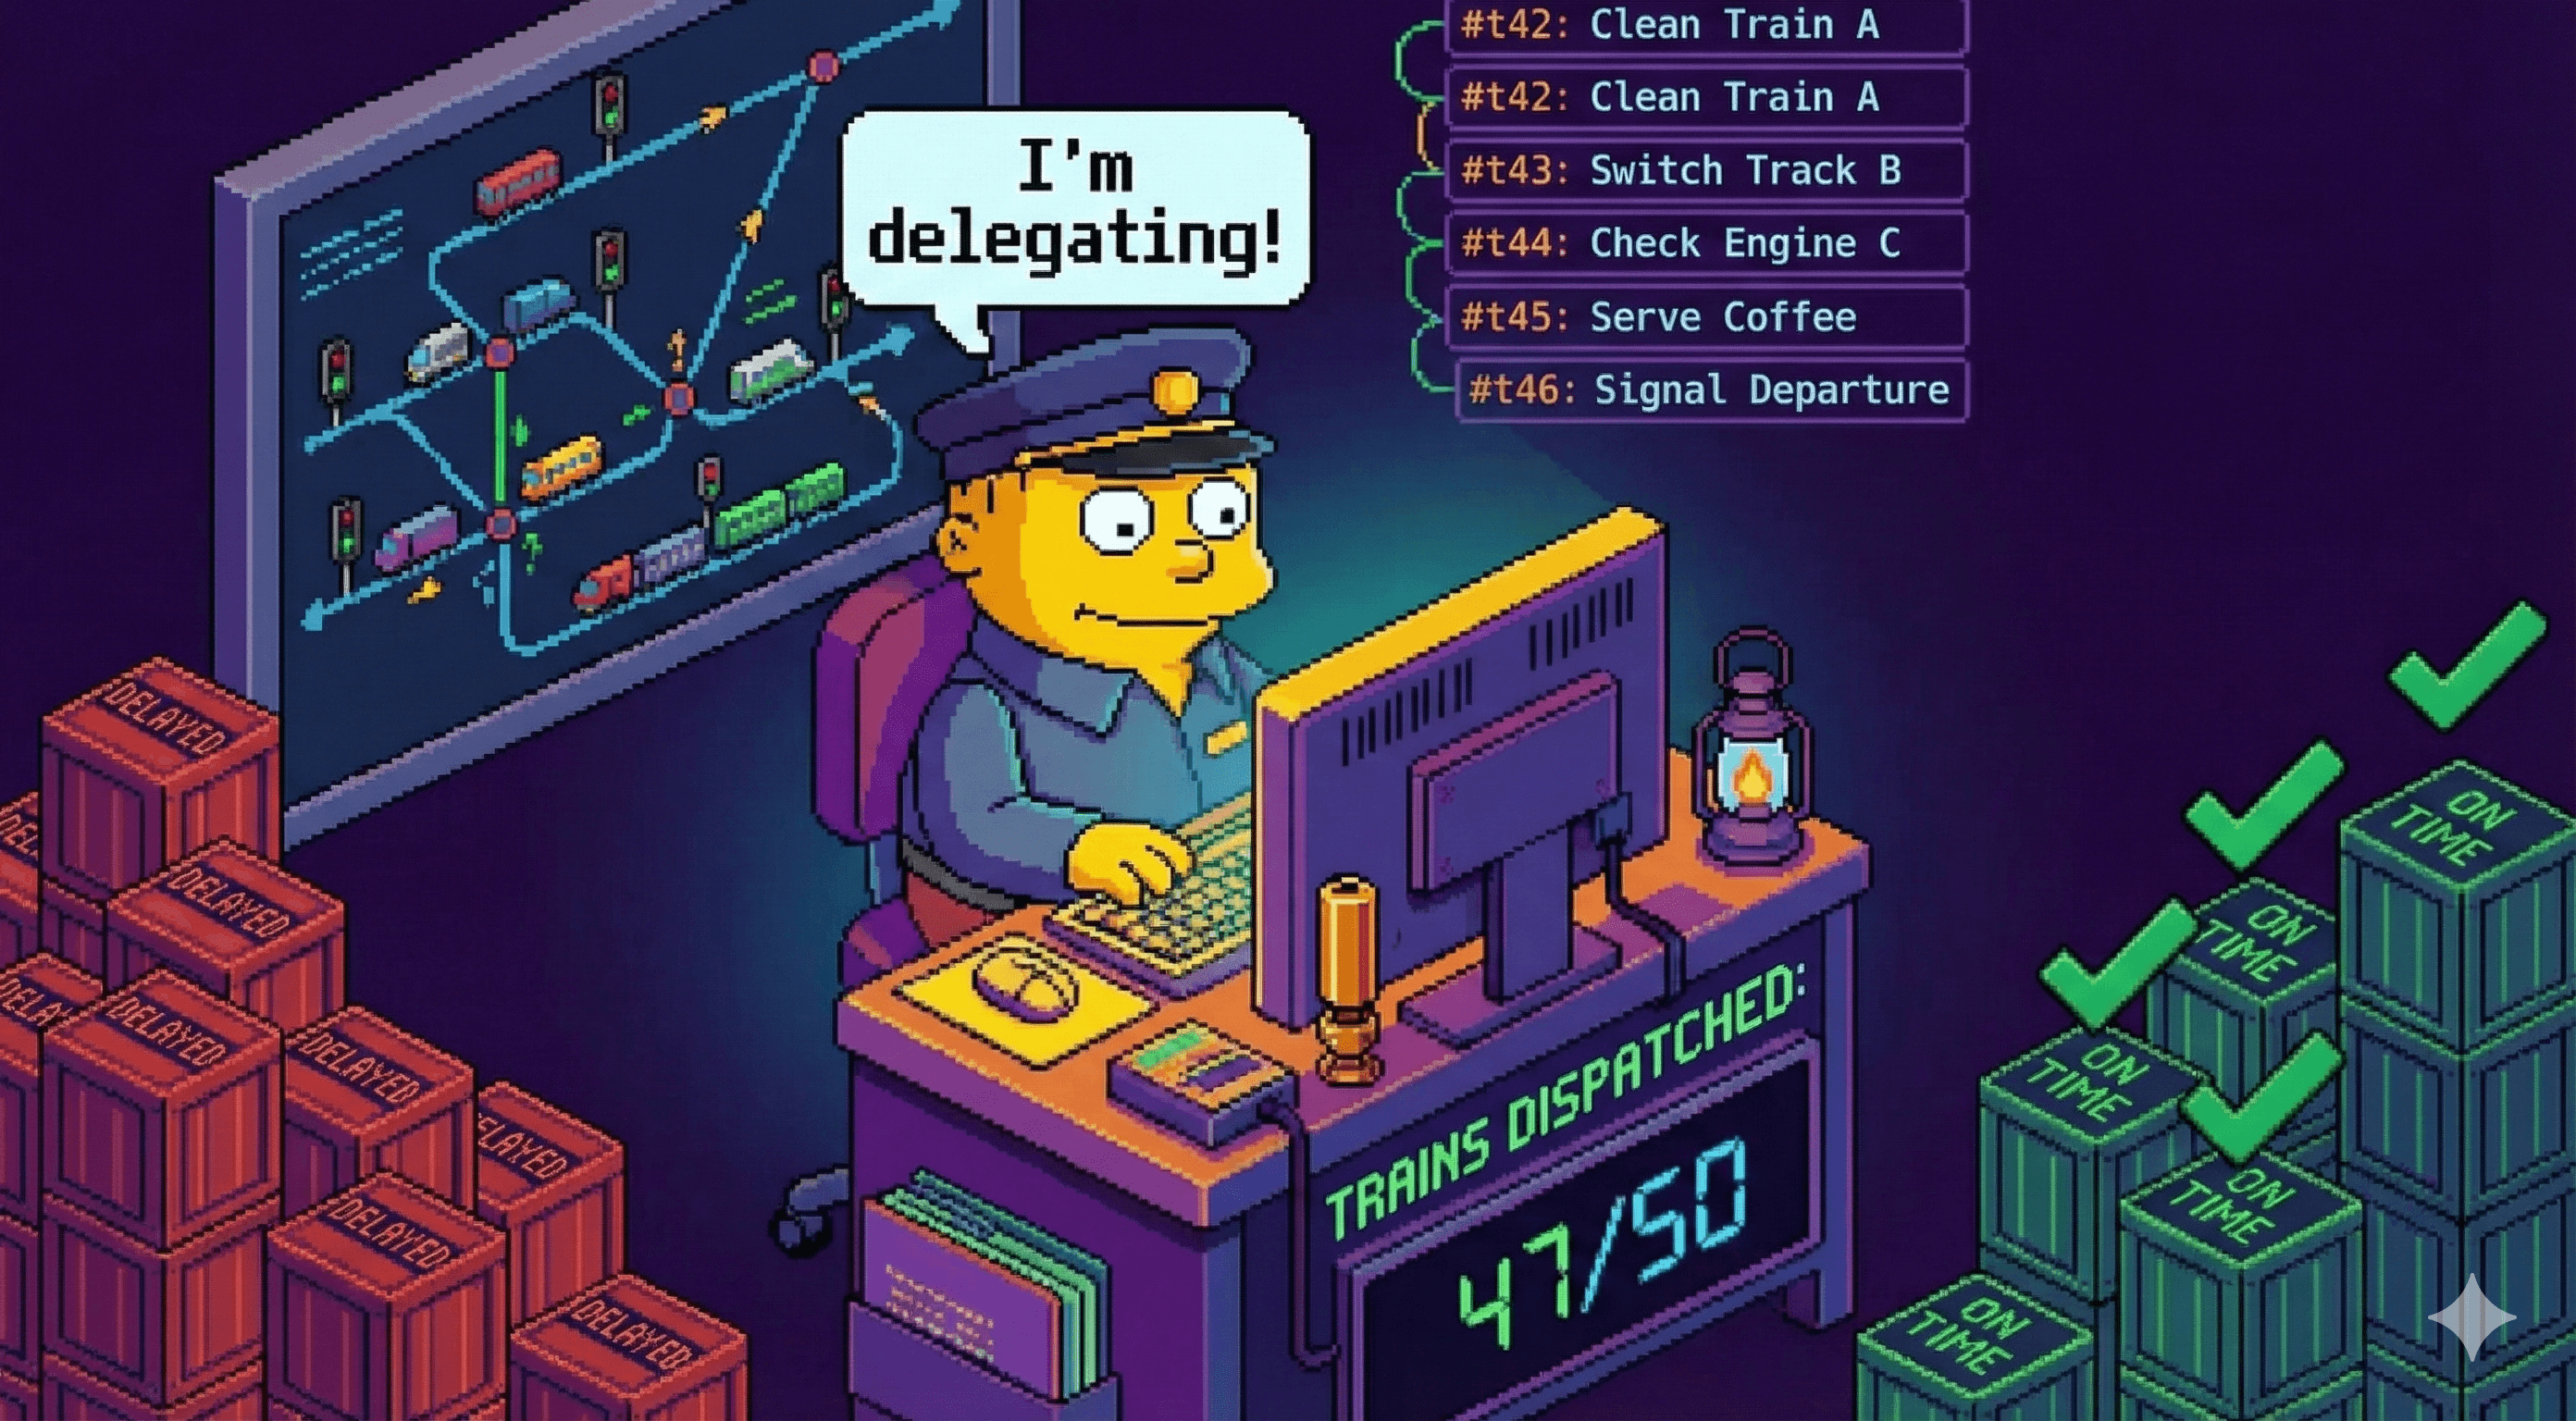
If you haven't figured it out by now, your role is about to change from the one who executes to the one who plans, architects, delegates, and finally reviews the output.
Because of that, I think one of the most important skills (pun intended) that you will have to master in 2026 is thinking at a higher level and delegating work effectively.
You'll also need to specify user needs, user interfaces, and technological choices in plain text in a simple, concise and unambiguous language.
This is in part one of the reasons why some say software development is about to fundamentally change in 2026.
Why Not Just Paste the Prompt Manually?
You might ask: why do I need this loop when I can just paste the prompt over and over myself?
Great question. The loop is just the tip of the iceberg, enabled by years of advancements in AI coding and model improvements. It's not that the loop makes this workflow possible — it's that the loop is possible because of this workflow.
There is one huge advantage to the loop though. You can set it off and let it run for hours, completely unsupervised.
That means you can start it before you go to sleep. Then wake up in the morning to a bunch of completed tasks.
So this gives you the opportunity to MVP those million dollar ideas you never had time for. The ones you kept in your notes for years and never got to build. Or perhaps it's time to ship that portfolio website you never got around to, or that crazy side project to automate your garage door.
For what it's worth, I actually use this exact loop to iterate on landing pages. The Ralph Loop handles the code iteration, PageAI handles the shipping layer (SEO, blog, theme, deploy). If that combo sounds useful, The Agentic Workflow for Landing Pages walks through the five-stage pipeline with full prompts.
FAQ & Troubleshooting
How much does it cost to run the Ralph Loop?
It depends on the model and iteration count. With Claude Code on the Max subscription ($100/month), you get nearly unlimited Sonnet usage which is enough for most projects. Opus is more expensive but also more capable. For a typical overnight run of 30 iterations, expect to use significant tokens — the Max plan is the most cost-effective approach.
Can I use a different AI CLI instead of Claude Code?
Yes. You can modify ralph.sh to use a different agentic tool:
sbx run codex .  # OpenAI Codex CLI
sbx run gemini . # Google Gemini CLI
Docker supports: claude, codex, gemini, copilot, kiro and opencode.
The agent keeps failing on the same task. What do I do?
This usually means the task spec is too vague or the acceptance criteria are impossible to meet. Edit the task spec in .agent/tasks/TASK-{ID}.json to clarify the requirements, or use .agent/STEERING.md to instruct the agent to skip that task and move on.
How do I steer the agent while it's running?
Edit .agent/STEERING.md with your instructions. The agent checks this file at the start of each iteration and will prioritize whatever you flag as critical.
My codebase has a 7000+ line file and the agent is struggling.
This is a known issue with all current LLMs. Add instructions to AGENTS.md to split large files into smaller modules. The component-refactoring skill can help with this. As a rule of thumb, try to keep files under 500 lines.
Can I run this on Windows?
Yes, the Ralph Loop runs inside a Docker container, so it works on any platform that supports Docker. The sandbox environment is Linux-based, so the scripts run identically on macOS, Windows and Linux.
How do I add my own custom skills?
Use the skill-creator skill that comes with @pageai/ralph-loop, or create a markdown file manually in .agent/skills/. Each skill is just a markdown file with instructions that the agent can reference during iterations.
The loop finished but some tasks are still failing.
This can happen when the iteration count is too low or when tasks have complex dependencies. Run the loop again with a few more iterations — it will pick up where it left off since task state is persisted in tasks.json.
How do I review what the agent did?
Check .agent/logs/LOG.md for a chronological log of all completed work. Each iteration also saves its full output in .agent/history/. And since every completed task creates a git commit, you can use git log to review changes.
What if the agent makes a mistake?
Since every task creates a git commit, you can git revert any bad change. The task system is also resilient — reverting a commit will cause the task's tests to fail, and the agent will re-attempt it on the next iteration.
Ralph Loop Commands Quick Reference
| Command | Description |
|---|---|
npx @pageai/ralph-loop | Install the Ralph Loop in your project |
./ralph.sh | Run with default 10 iterations |
./ralph.sh -n 5 | Run with custom iteration count |
./ralph.sh --once | Run a single iteration |
./ralph.sh --help | Show all available options |
Ralph Loop Agent Status Codes
| Status | Meaning |
|---|---|
<promise>COMPLETE</promise> | All tasks done |
<promise>BLOCKED:reason</promise> | Needs human help |
<promise>DECIDE:question</promise> | Needs a decision |
Resources
@pageai/ralph-loopon GitHub — the complete package with all scripts, prompts and skills- Claude Code — the AI CLI that powers the loop
- Docker — required for the sandboxed environment
- Anthropic's research on long-running agents — the research behind the task format
- skills.sh — additional agent skills to improve output quality
- Supadata — transcript extraction API (used in the demo project)
- TanStack Start — the framework used to bootstrap the demo project
- Playwright — E2E testing framework
- Vitest — unit testing framework